How to set up single blog post & post listing
You’ve set up your blog with SiteGround Website Builder but how do you customize the look and feel of posts? The Blog section gives you two separate customization areas: Single Post settings, which control how individual blog articles look, and Post Listing, which controls how your blog’s article listing is displayed.
In this tutorial, we will cover both.
How to customize Single Posts
Single Post settings control the layout and design of the page readers see when they open one of your blog articles.
- Go to Website Builder and select Blog in the left-hand sidebar.
- Click on Templates and open the Single Post setting.
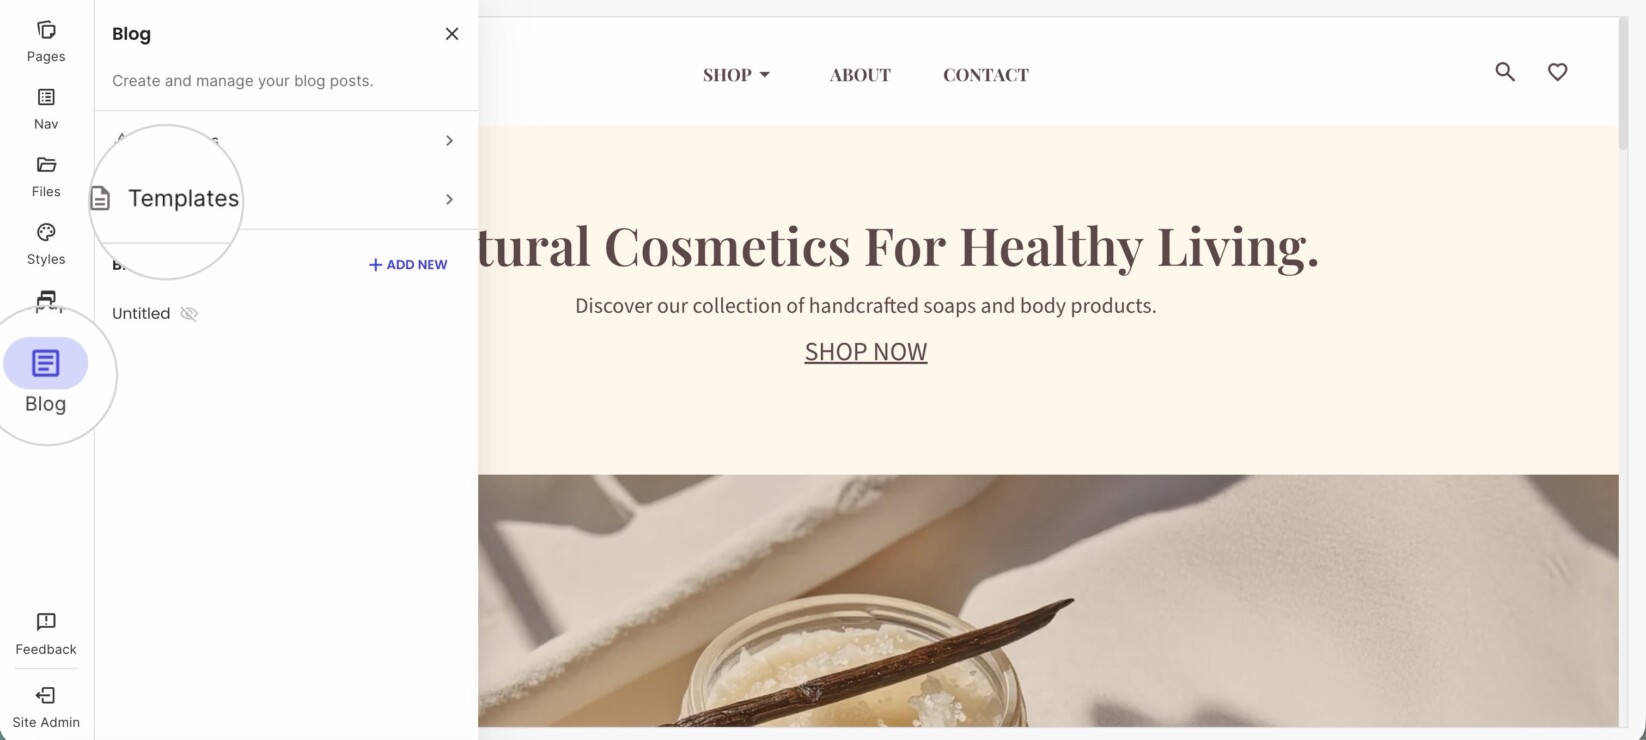
- Click on CUSTOMISE POST.
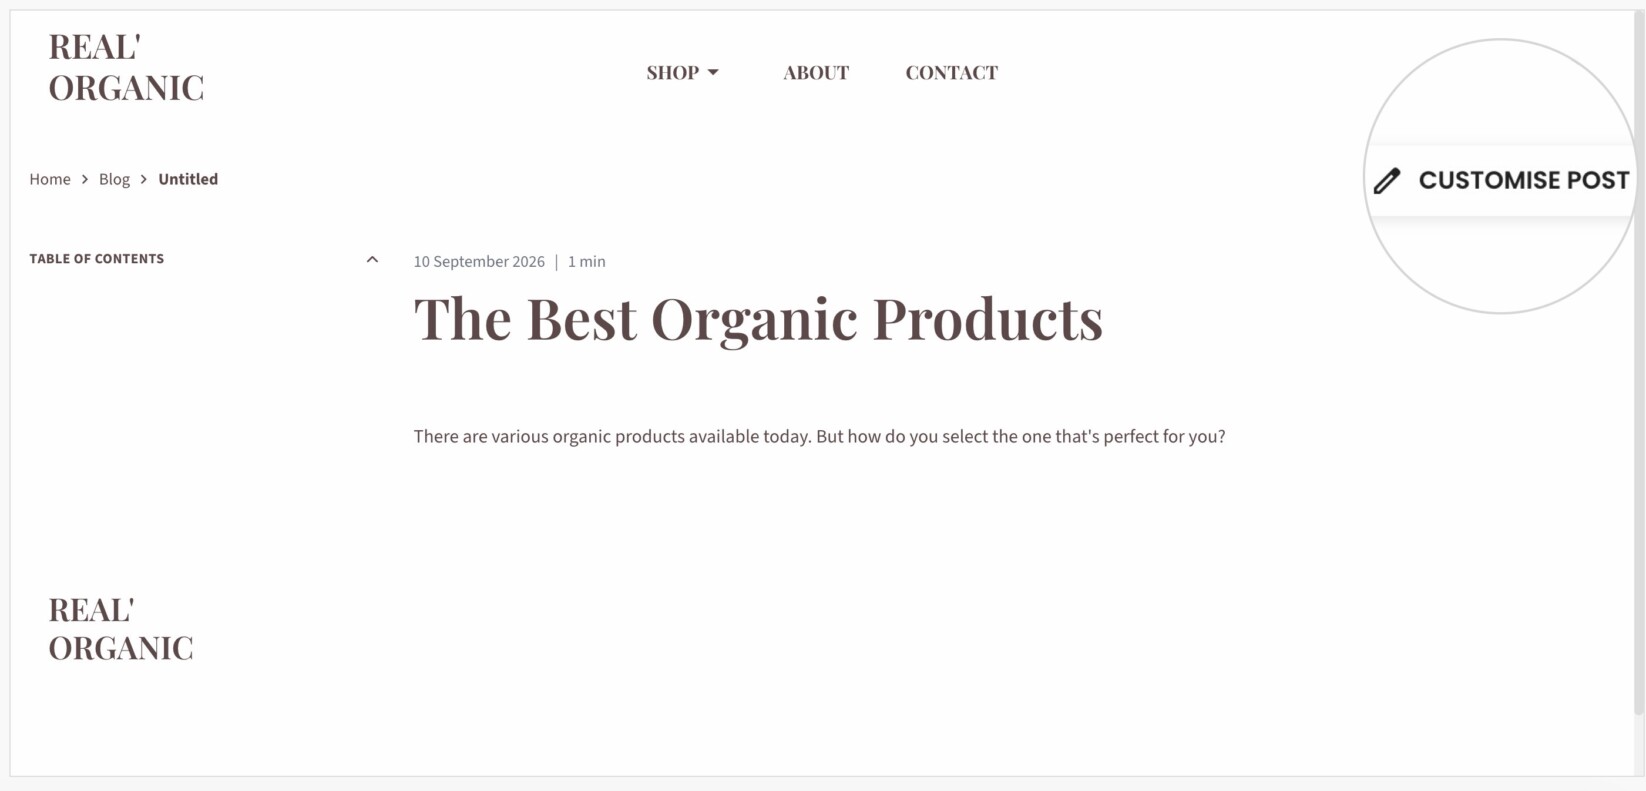
A settings panel opens with two tabs: GENERAL and DESIGN.
Using Single Post general settings
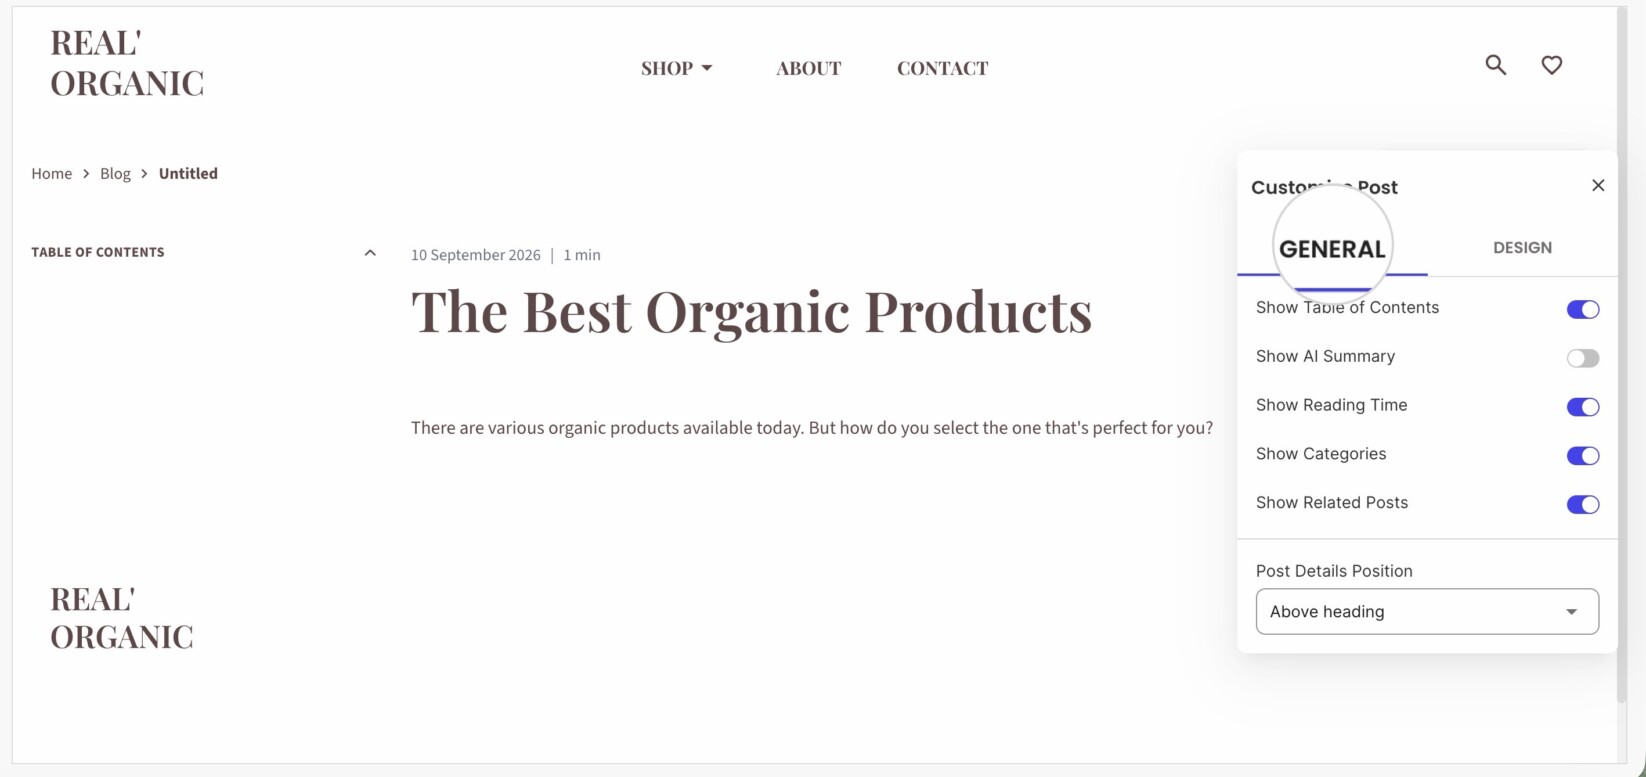
The GENERAL tab controls what information appears on each post and how readers can navigate it. You can use the dropdown to set the position of the post details or toggle: table of contents, reading time, category labels, related posts.
Using Single Post design settings
The DESIGN tab controls the visual appearance of single posts.
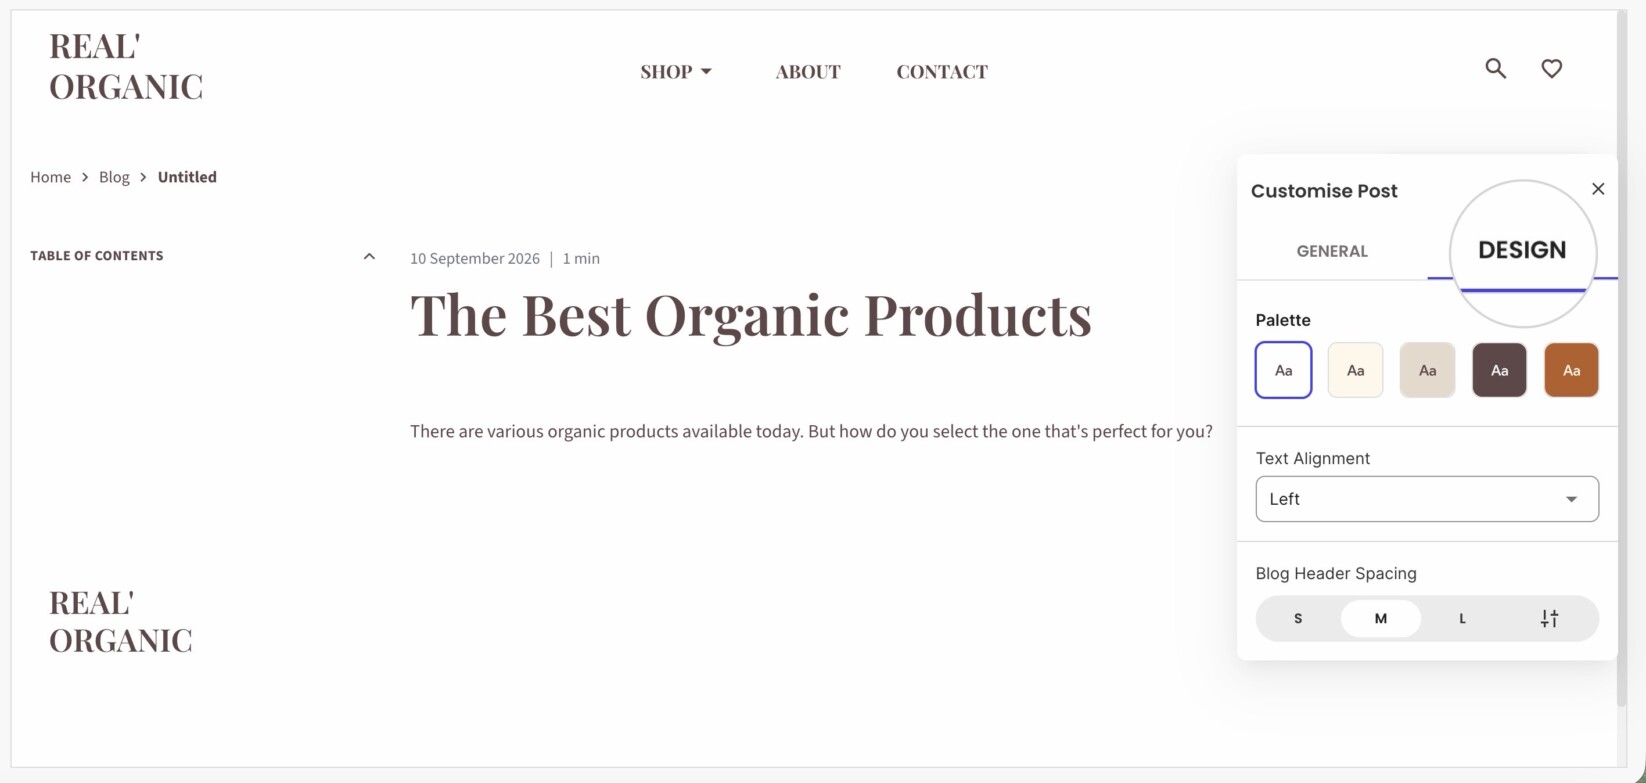
- Choose a page background color from the available palettes.
- Set the preferred text alignment.
- Adjust the spacing above the blog header, using the fixed S, M, and L presets or the custom icon.
How to manage Post Listing
The Post Listing page is a dynamic webpage component that automatically pulls and displays a curated feed of blog posts that your website visitors will see. In SiteGround Website Builder, you can use the Post Listing page to make quick changes to the page URL, SEO, and Social previews. Additionally, you can apply “GENERAL”, “CONTENT”, and “DESIGN” settings.
- Click on Blog > Templates > Post Listing
- Next, press Edit Post Listing.
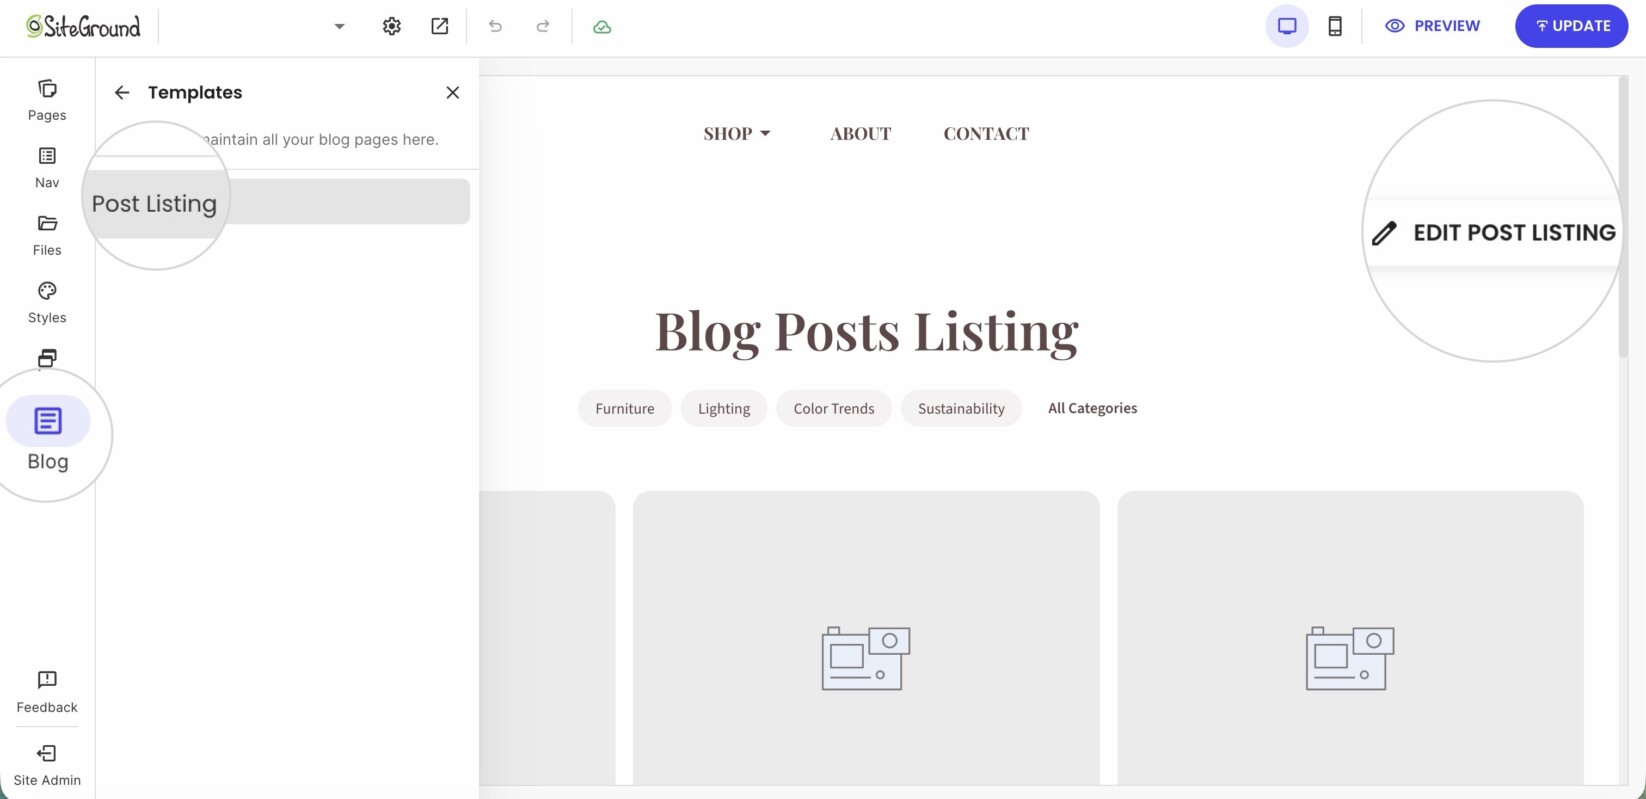
- From the pop-over menu, you can apply GENERAL, CONTENT, or DESIGN changes.
- GENERAL: Enable featured post carousel, choose layout (Grid or List), columns, rows, thumbnail aspect ratio, and display or hide listing title (via toggle).
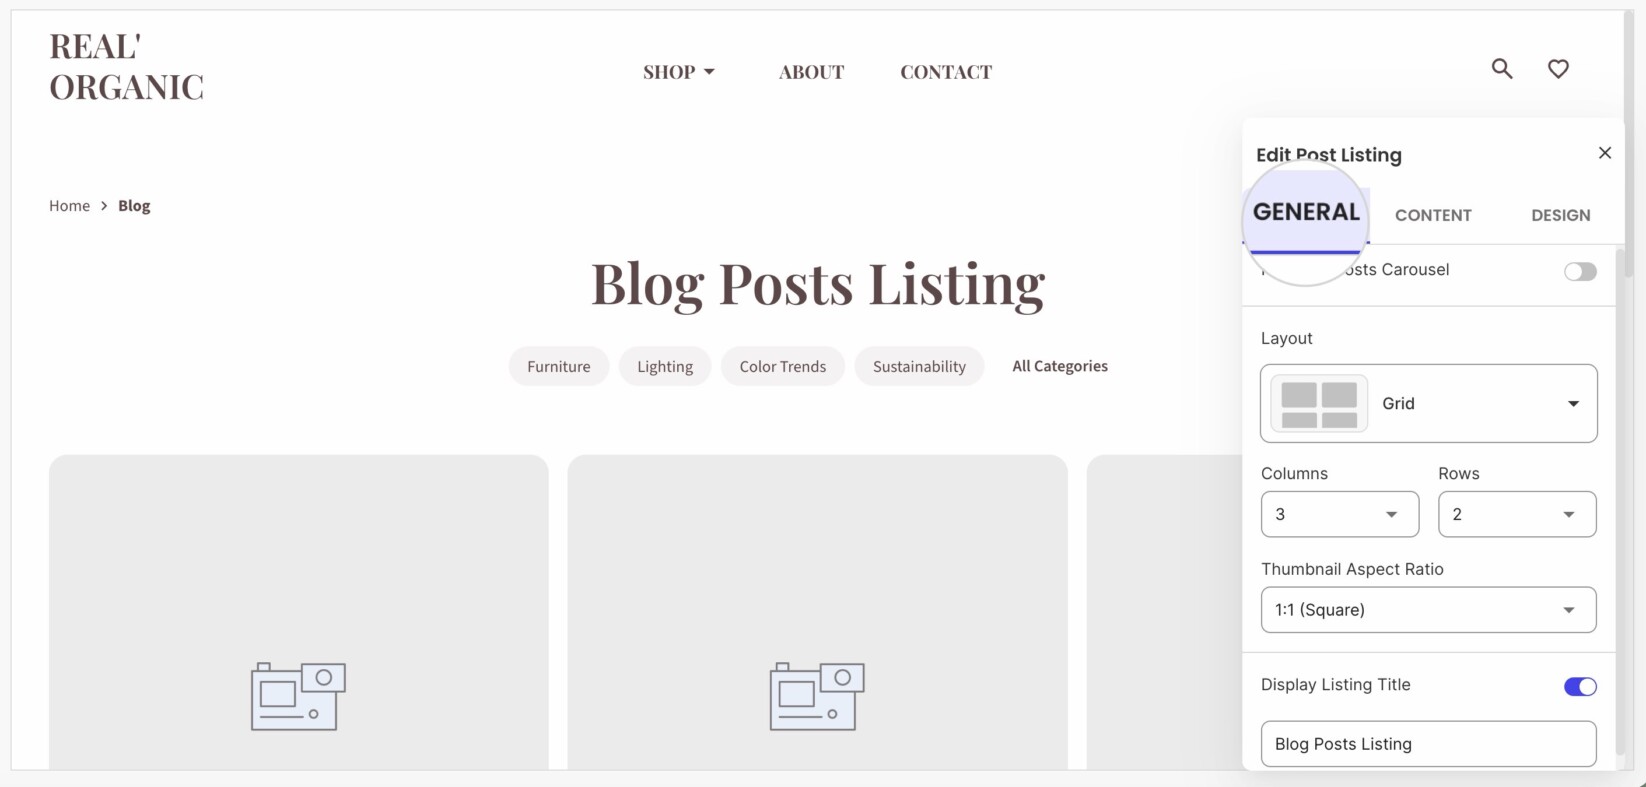
- CONTENT: Use the toggles to show Image, Categories, Description, and Reading Time.
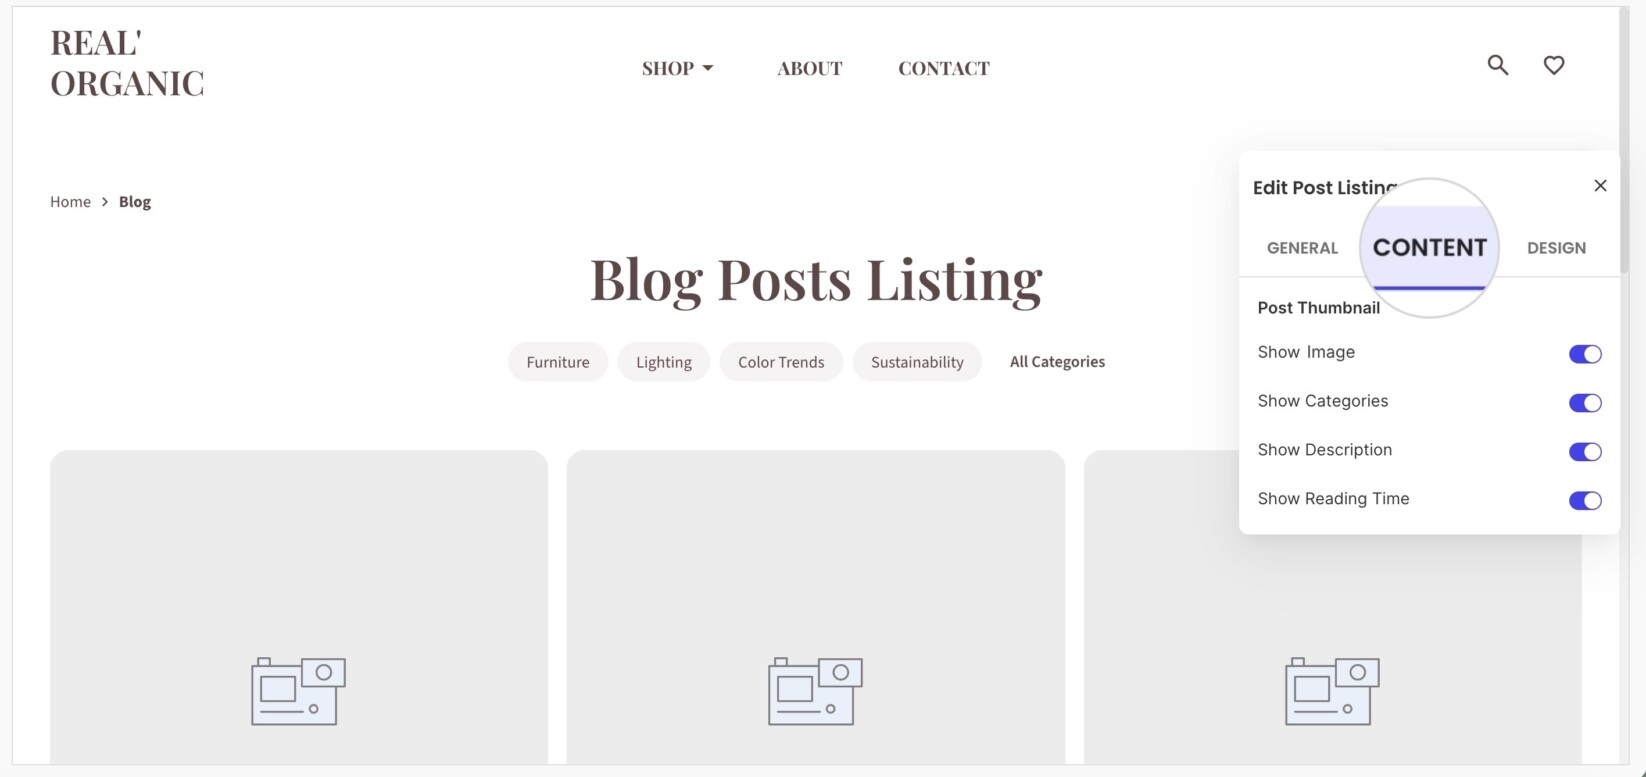
- DESIGN: Define the background of the Blog Post Listing section using the Palette choices and set Corner Radius.
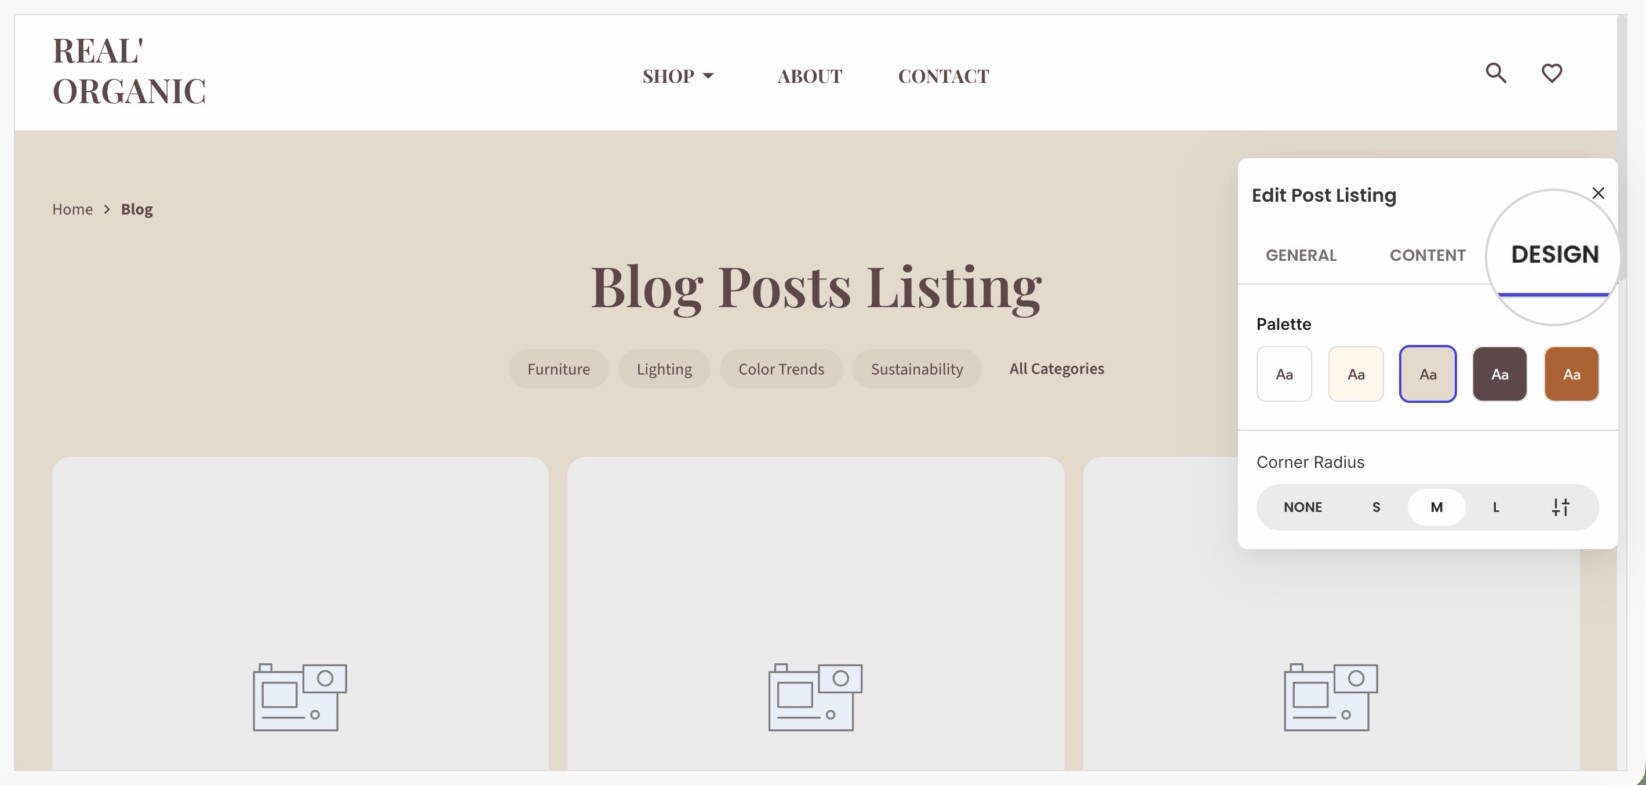
How to set other General, SEO, and Social settings
For your blog post listing, you can also make further adjustments using the kebab menu.
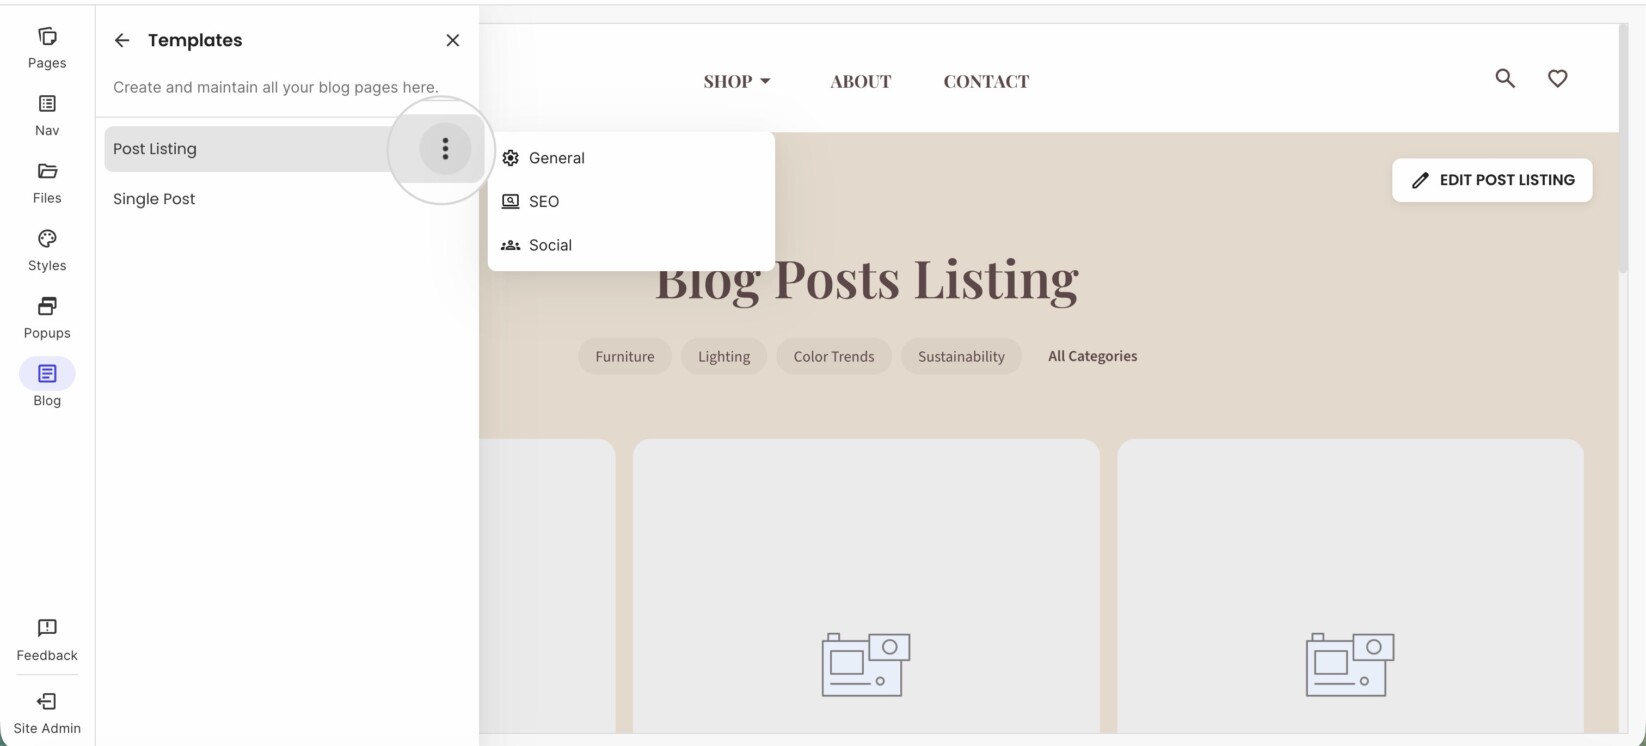
Click on it to go open:
- General settings: define the page URL
- SEO settings: write Title, Description, and check the Social Preview
- Social settings: select Social Share Image, add Social Share Title, and Social Share Description
Press UPDATE when you’re ready with all the changes.