How to manage a Node.js project in Site Tools
Once you’ve created and deployed your Node.js project, you can handle its configuration and settings from its Site Tools.
In this guide, you’ll learn all about Site Tools for a Node.js project and all its sections.
How to open Site Tools
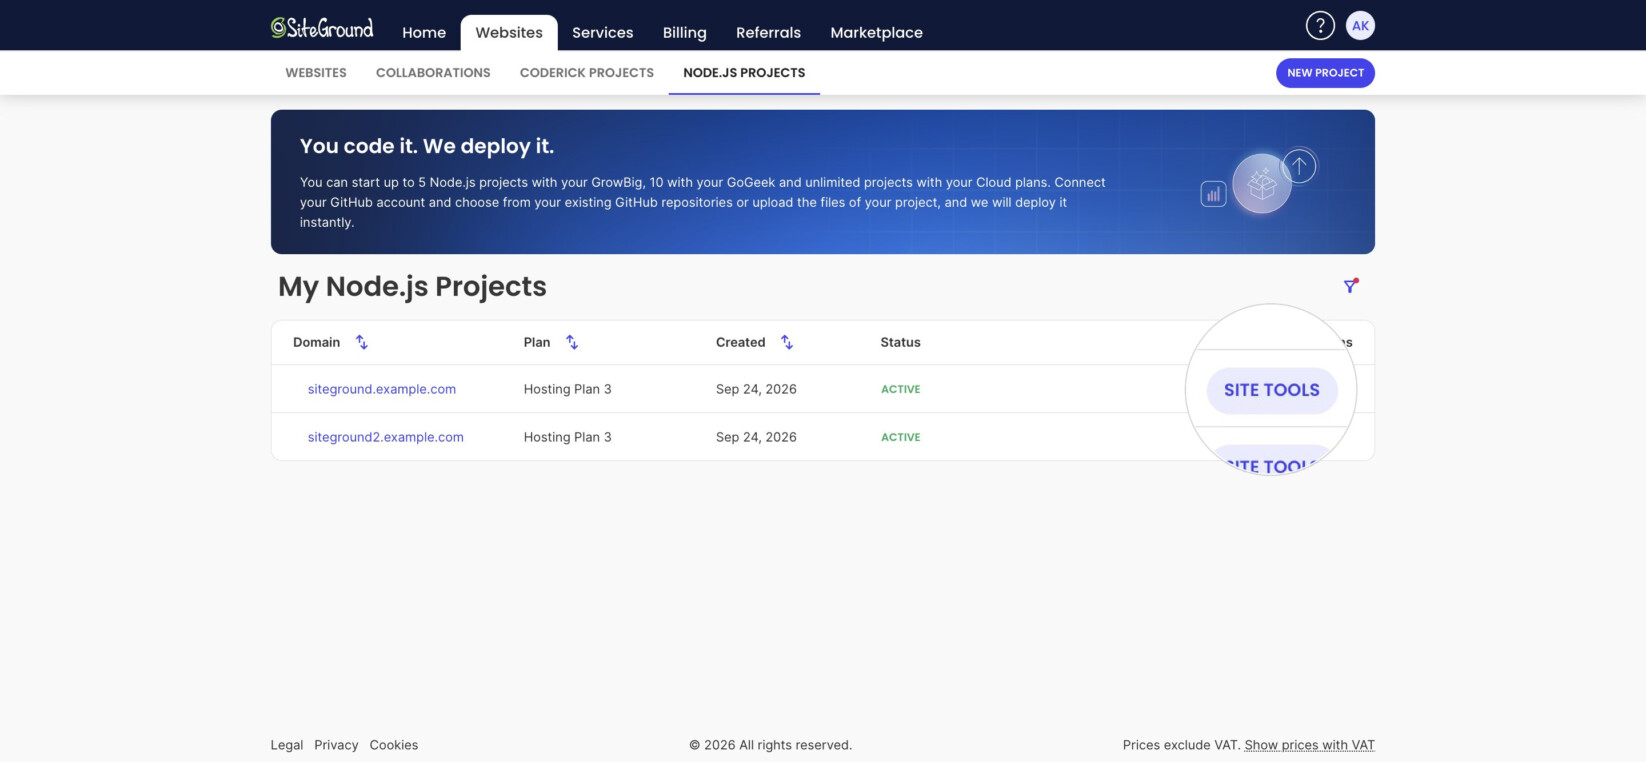
To open the Site Tools of a Node.js project, navigate to your Client Area > Websites > Node.js Projects, go to the My Node.js Projects section, and click Site Tools of the chosen project.
The Site Tools panel is divided into several drawers, with each one handling different aspects of your installation.
Dashboard
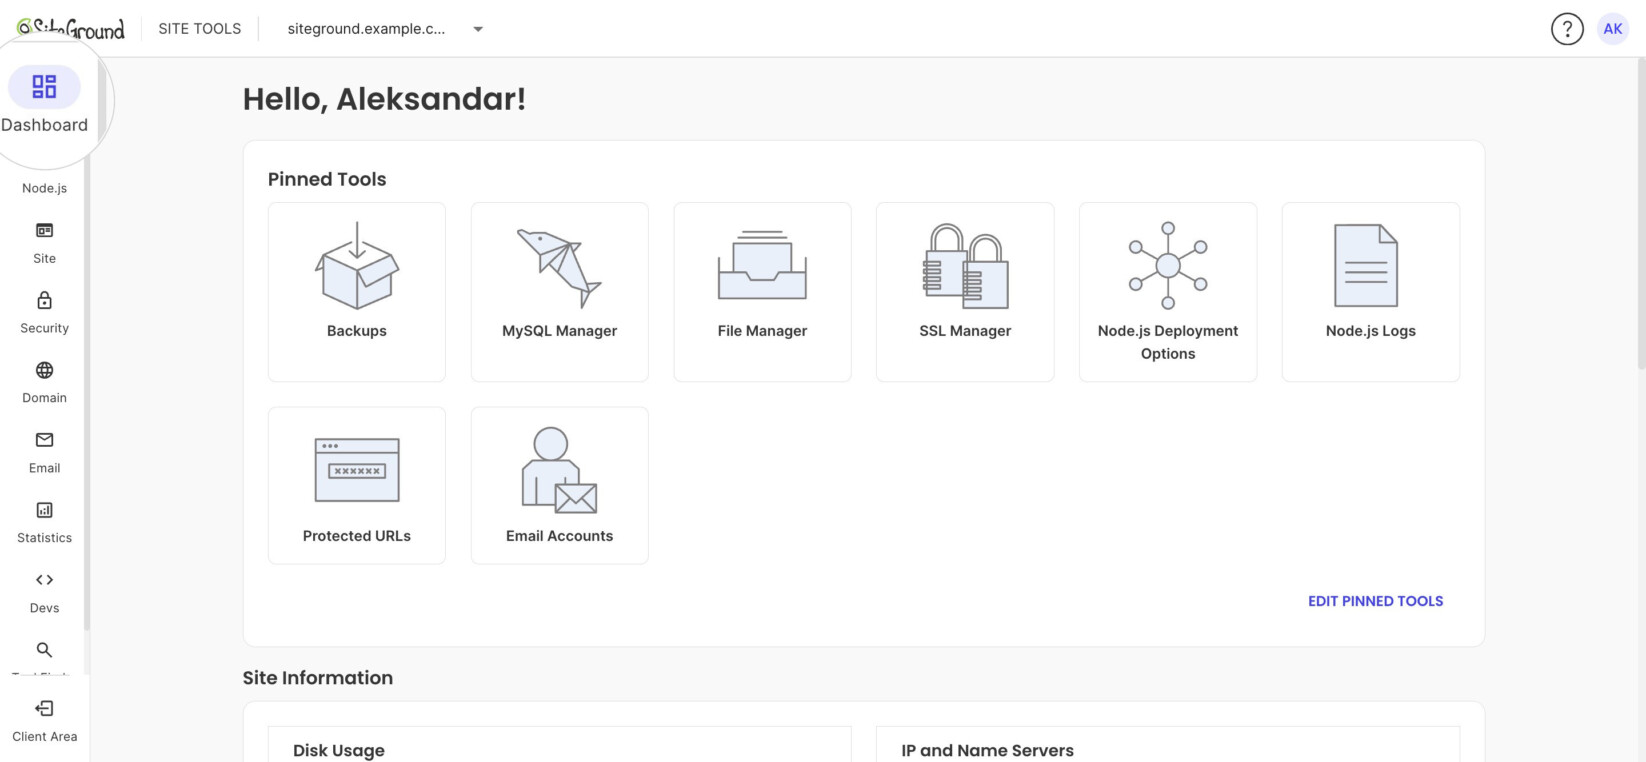
The Dashboard drawer is the Site Tools home page, which opens every time you enter the panel.
It contains general information about your website: traffic statistics, disk usage, and IP and nameservers information.
Additionally, it features Pinned Tools for quick access to instruments in the panel, which you can customize.
Node.js
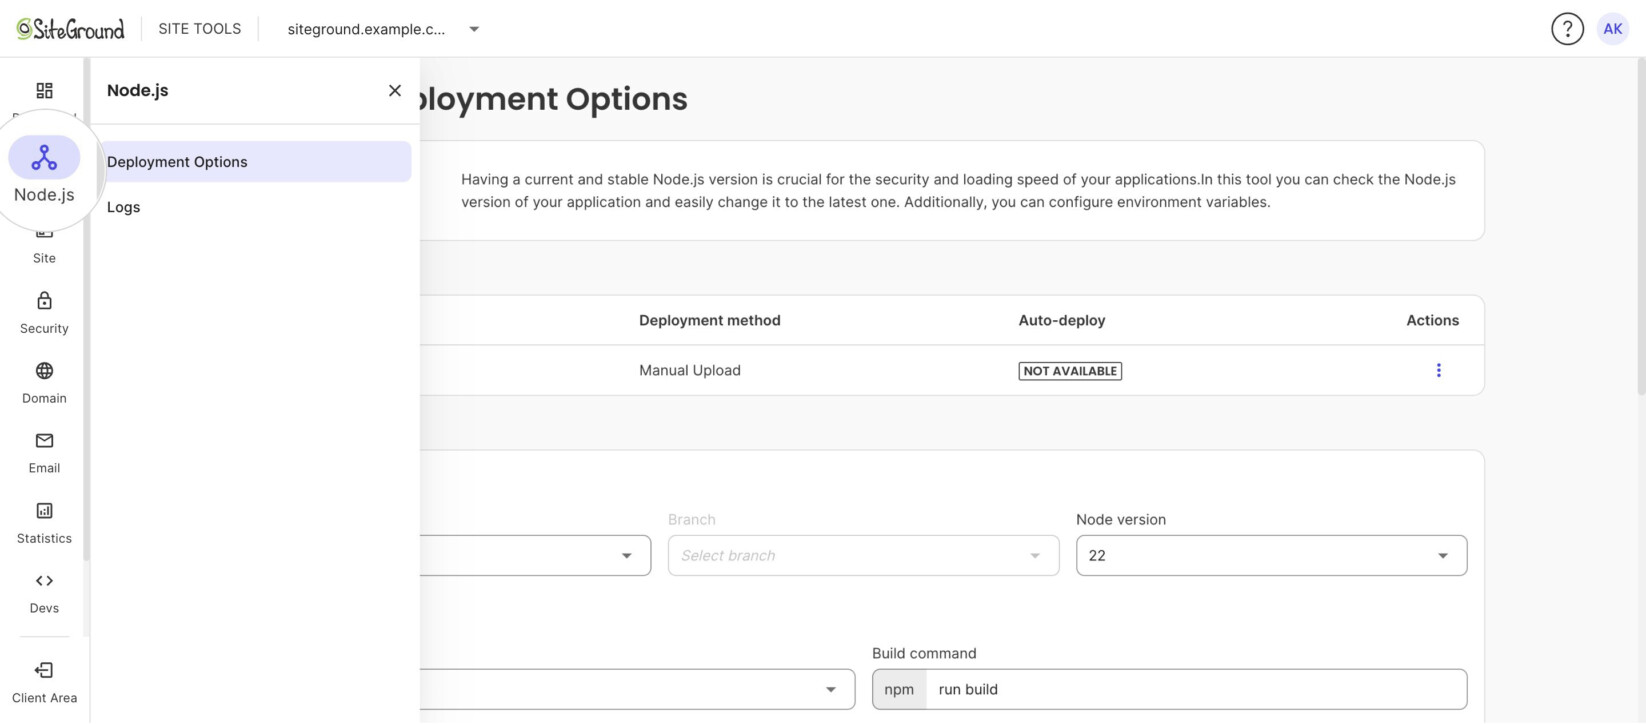
The Node.js drawer controls your application’s main configuration. It is divided into two sub-sections: Deployment Options and Logs.
- Deployment Options: provides general information about the deployment method and deployment options. It also allows you to modify the framework preset, branch, node version, package manager, build command, and environment variables.
- Logs: the full history of past deployments and their build output, where you can also delete the builds you no longer need.
Site
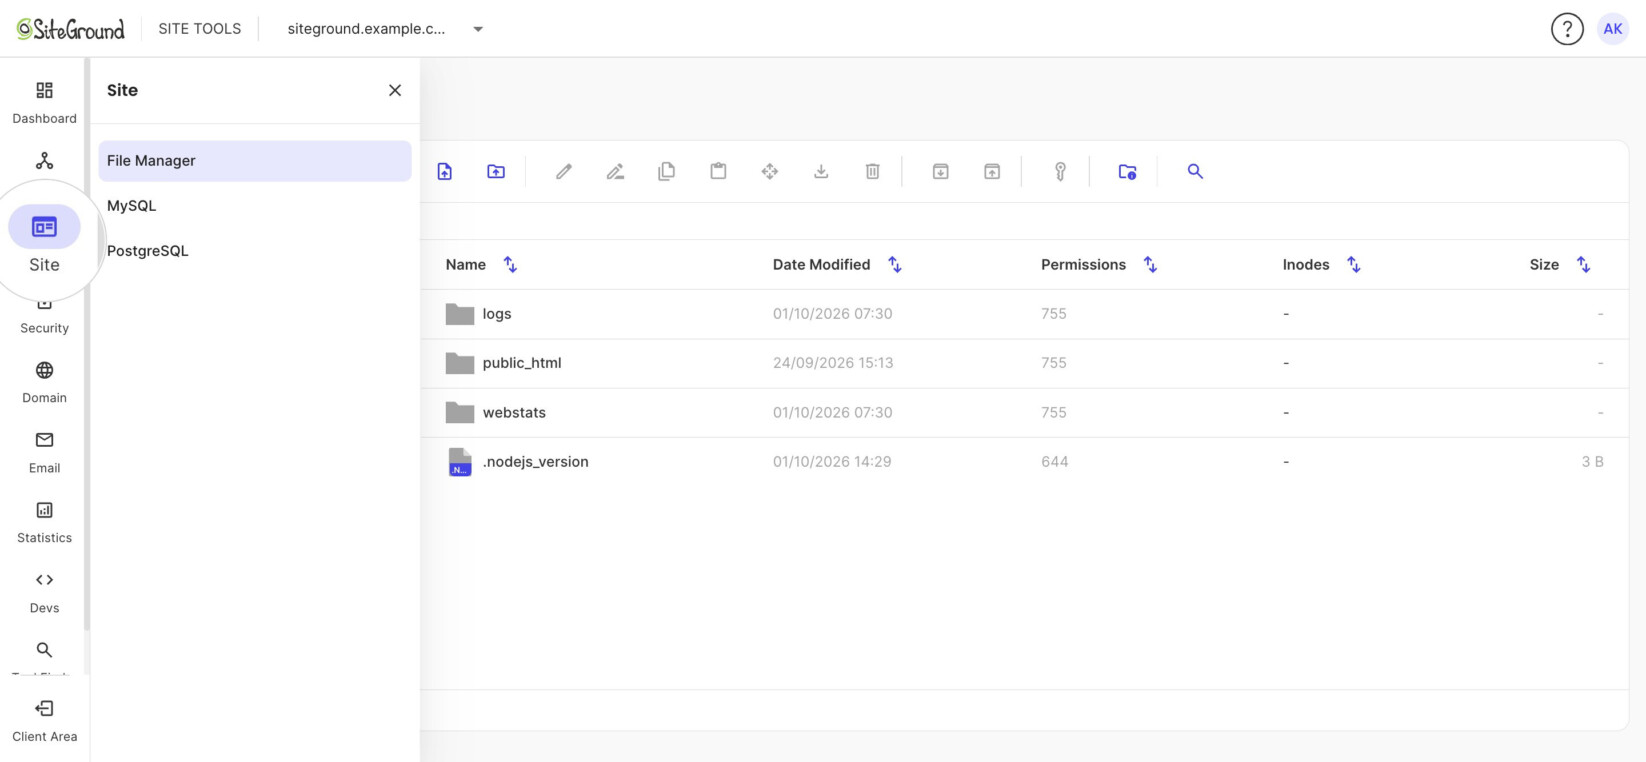
This drawer contains the File Manager for your application’s files, as well as options for creating, managing, and deleting databases which you can connect to your application. It is divided into three sub-sections:
- File Manager: browse, upload, edit, and manage the files of your application. For more information, read how to manage your files via File Manager.
- MySQL: management options for MySQL databases
- PostgreSQL: management options for PostgreSQL databases
Security
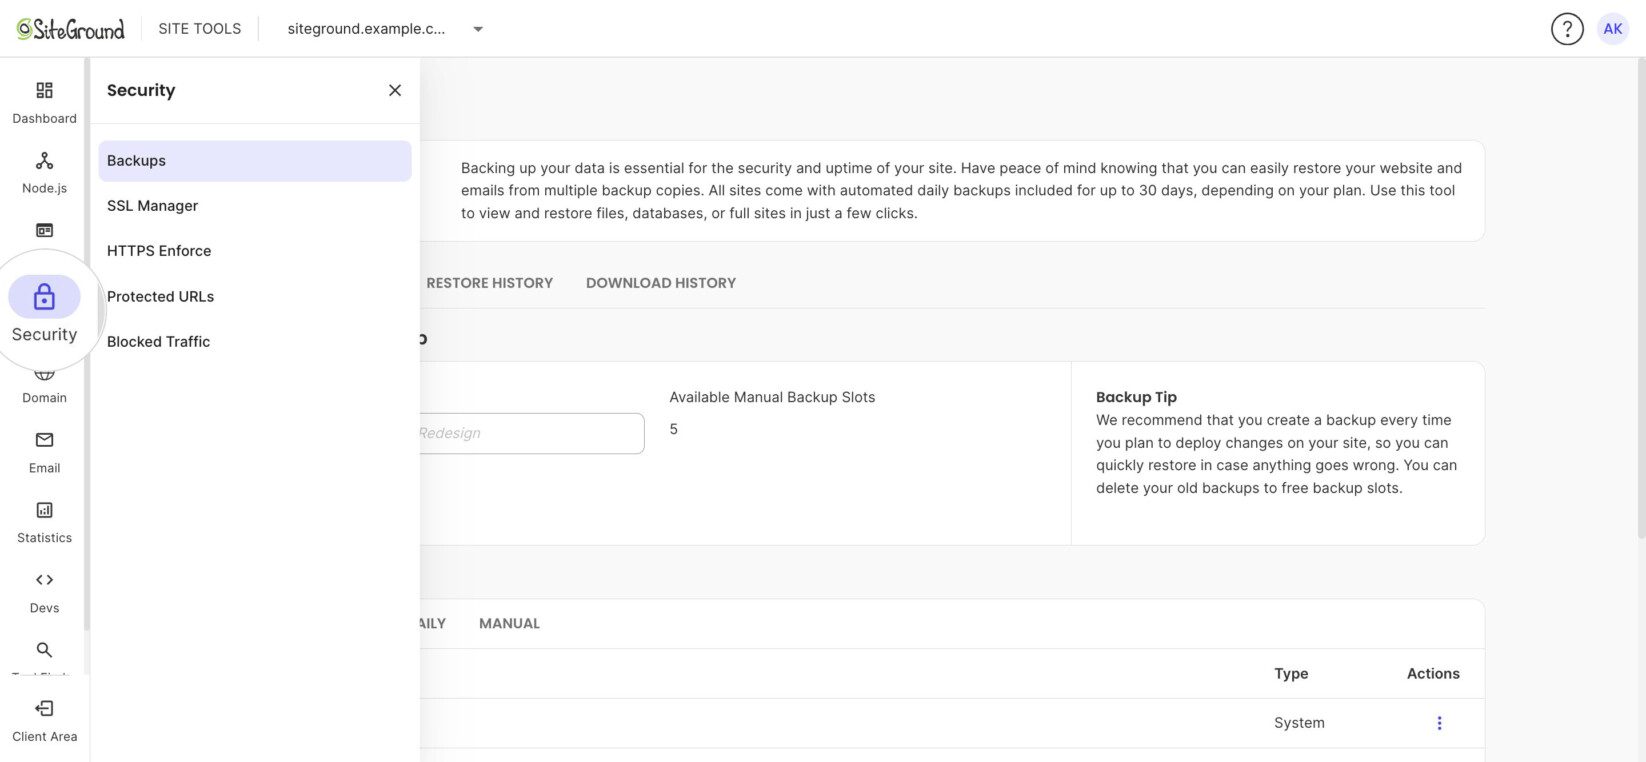
Security settings similar to the Security section in the regular Site Tools. It features a Backups tool, an SSL manager and installer, a blocked traffic tool, protected URLs, and HTTPS Enforce tool.
Domain
Standard domain settings, also found in the regular Site Tools, such as tools for creating subdomains and parked domains, DNS zone editor, and redirects tool.
SiteGround provides free email service for all hosted websites. In this section, you can create and manage email accounts for your application’s domain. For more information, read these email tutorials.
Statistics
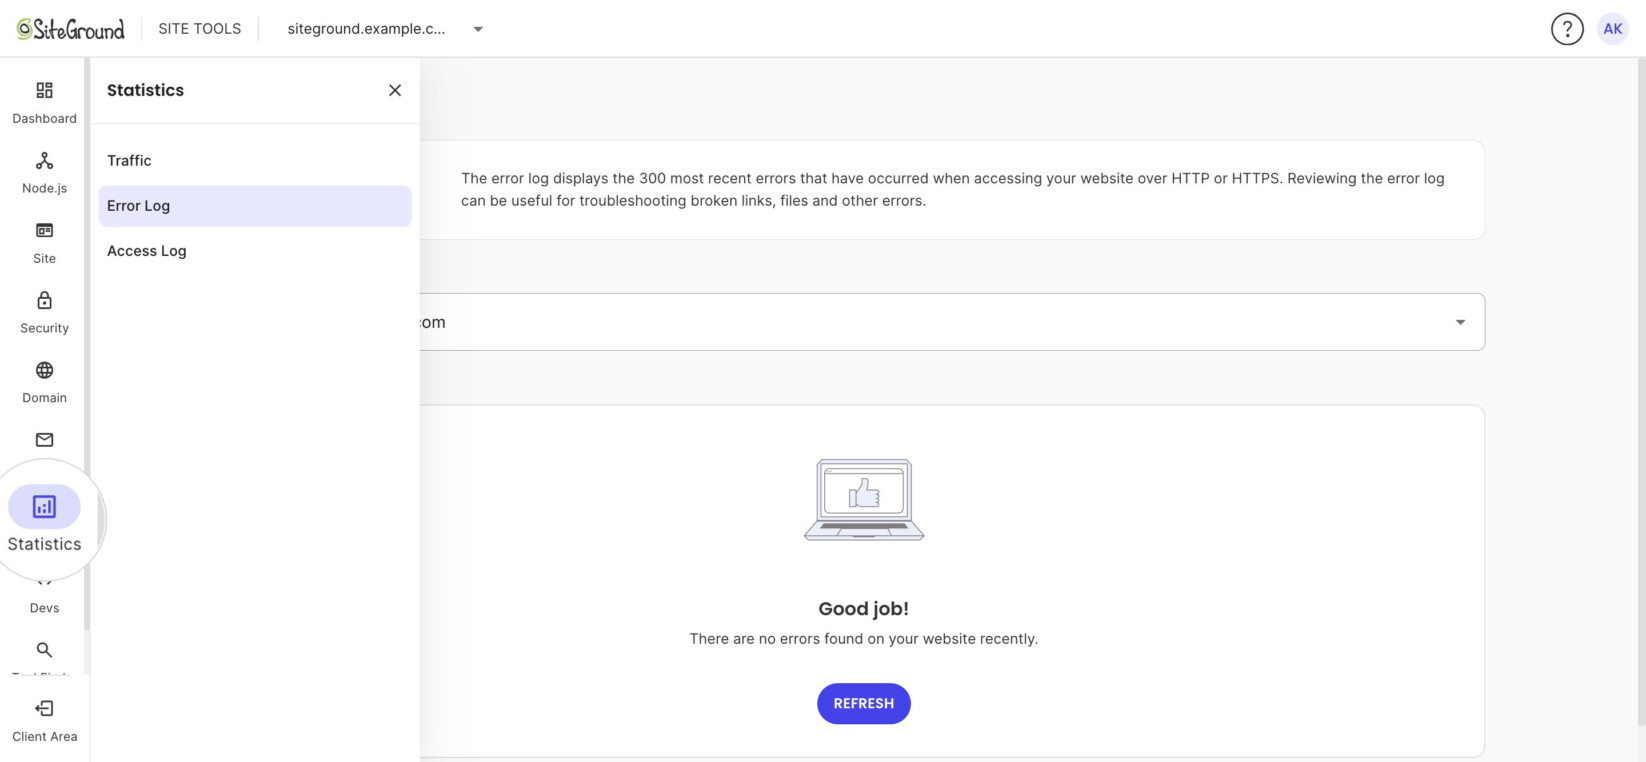
This section provides information, statistics, access logs, and error logs for the traffic to your website. You can find detailed instructions on using these tools in the Access logs, Traffic, and Error log tutorials.
Devs
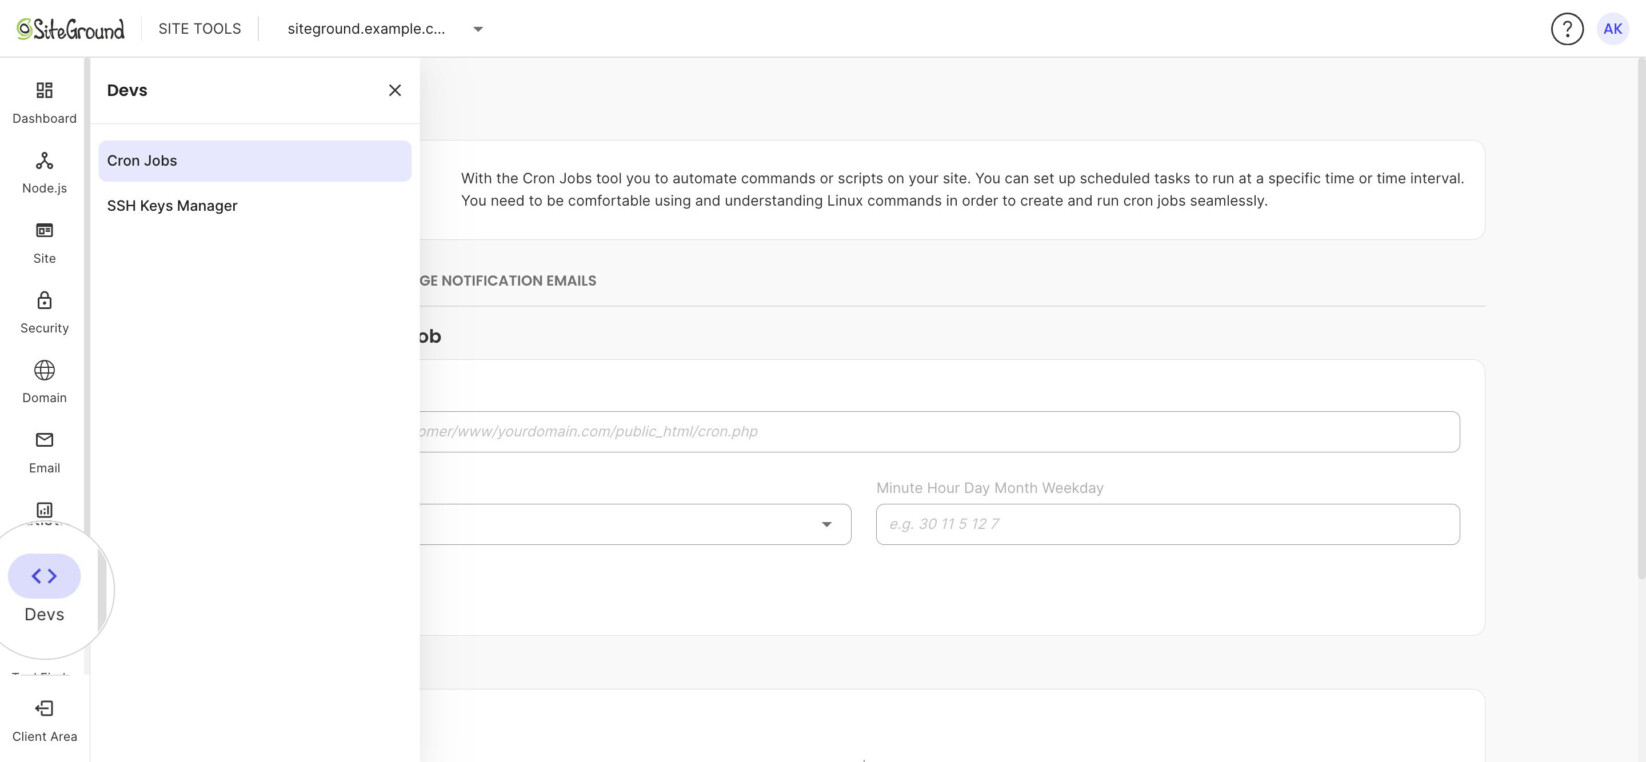
The Devs drawer contains tools for developers. It is divided into two sub-sections:
- Cron Jobs: schedule commands or scripts to run automatically at set intervals. For more information, read how to create and manage Cron jobs in Site Tools.
- SSH Keys Manager: generate or import SSH keys and use them to connect to your hosting account via SSH. For more information, read how to access your site through SSH connection.
How to manage the Node.js deployment
The centerpiece of the Node.js Site Tools is the Node.js section, where you control the most critical settings of the Node.js environment. It is divided into two sub-sections.
Deployment options
This is where you can change the deployment method or adjust the application settings. On top of the page are the Deploy method options, where you can switch from manual to GitHub deployment.
It lists the current deployment and how it is deployed (manually or via GitHub). To modify the deployment settings, press the Actions (kebab) menu.
The available options depend on whether the application is linked to GitHub or manually uploaded.
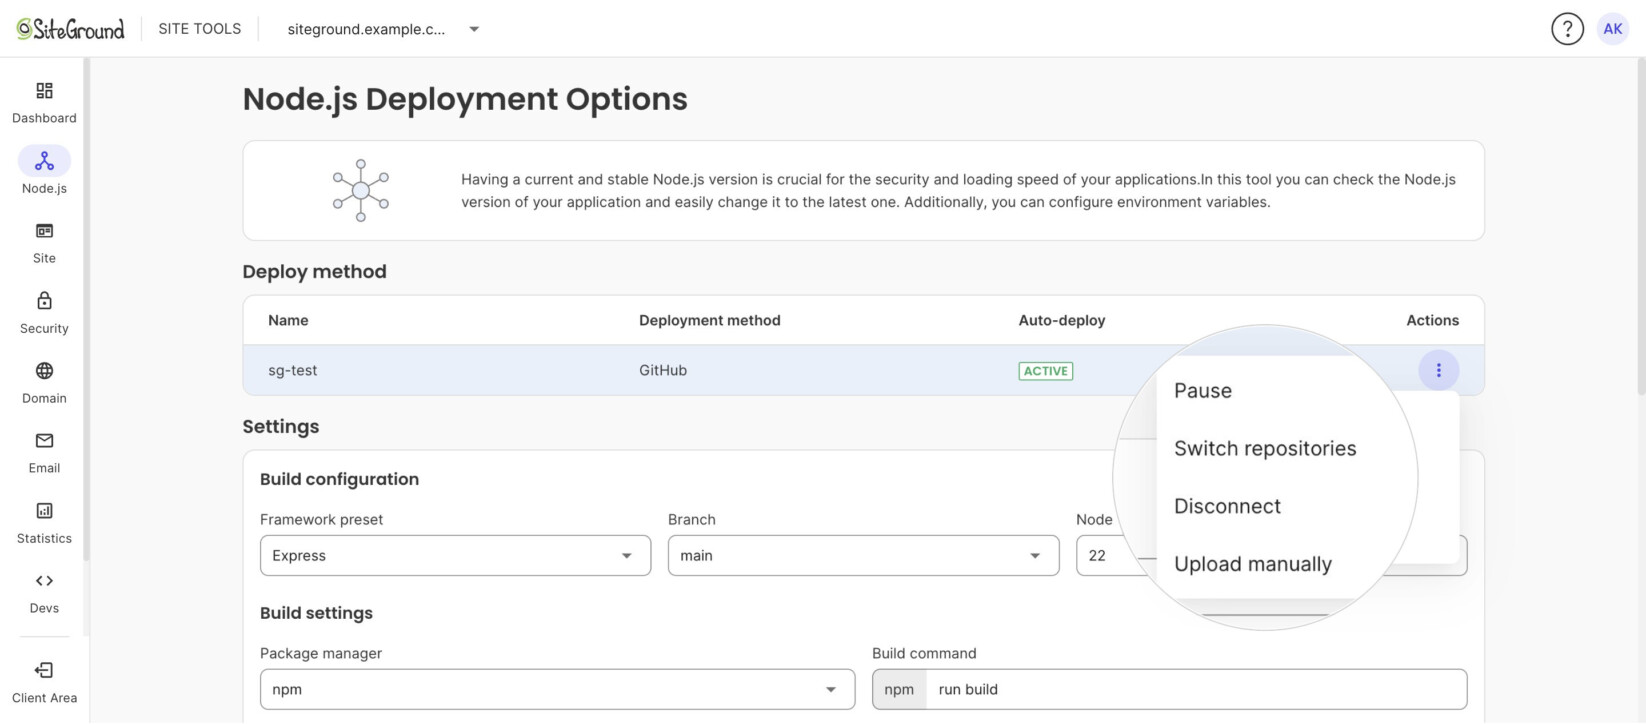
Deployment options for an application connected to GitHub
If the application is connected to a GitHub repository, the options are:
- Pause: pauses the auto-deploy option if the deployment is connected to a GitHub repository. It can be resumed at any time.
- Switch repositories: allows you to replace the current repository with another one
- Disconnect: completely disconnects the Node.js Site Tools from the current GitHub repository. If the option is selected, the auto-deploy will be disabled until you connect Site Tools to an existing GitHub repository.
- Upload manually: lets you manually upload an application from your local device. Note that this will disconnect Site Tools from the GitHub repository, so auto-deploy will be disabled.
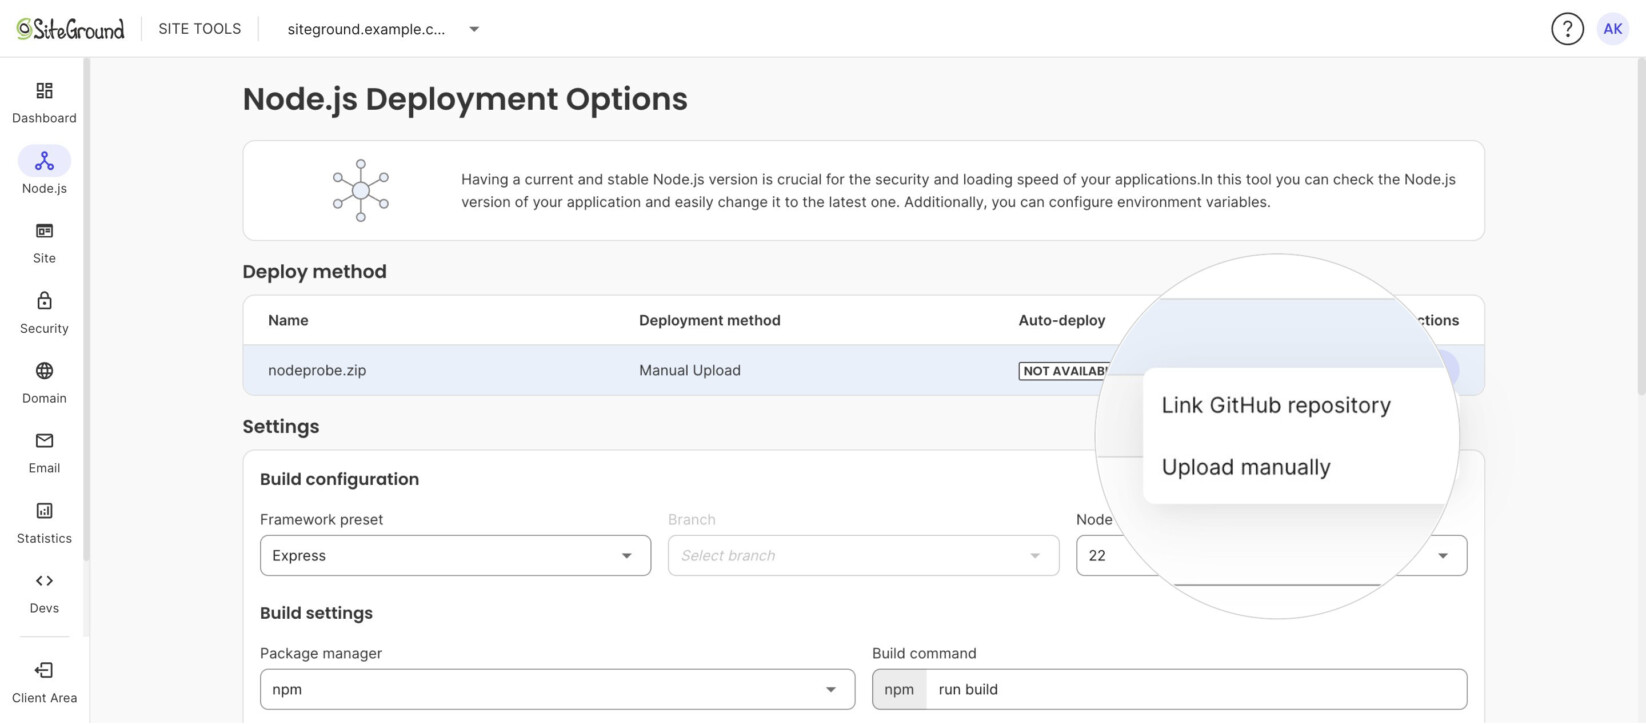
Deployment options for a manually uploaded application
If your Node.js app is manually uploaded, the Actions menu presents only a couple of options:
- Link GitHub repository: lets you link Site Tools to an existing GitHub repository. If you have already allowed access to any of your GitHub repositories, you will be able to choose from them. Otherwise, you will first need to authorize the SiteGround app to access your repositories.
- Upload manually: lets you upload a new archive of the app you would like to have built and deployed.
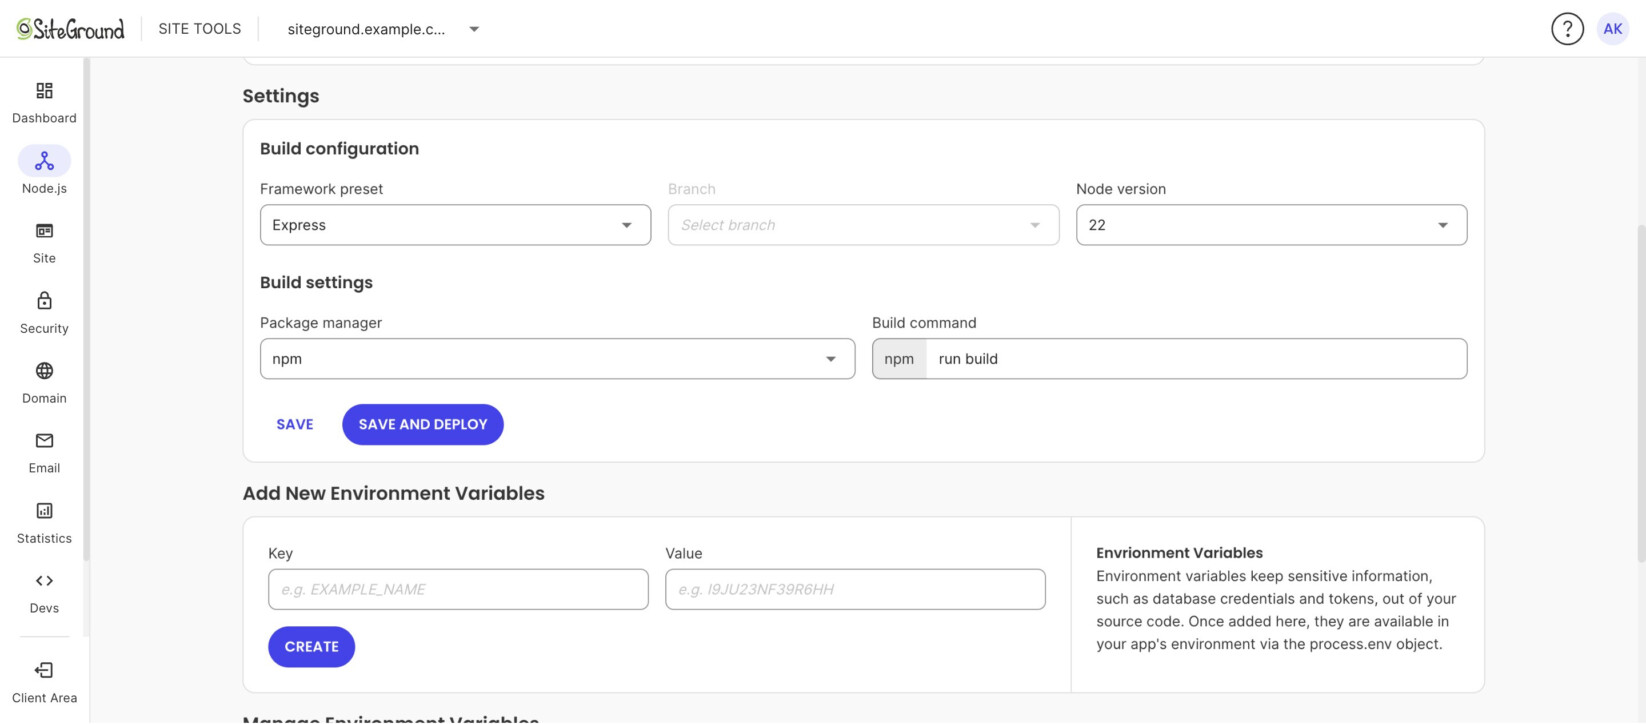
Settings
In addition to the deployment method settings, the Deployment Options page features build configuration and environment variable settings. We will try to preselect the best settings for your app, but you can change the framework preset, branch, node version, package manager, and build command, and add or edit environment variables as needed.
Logs
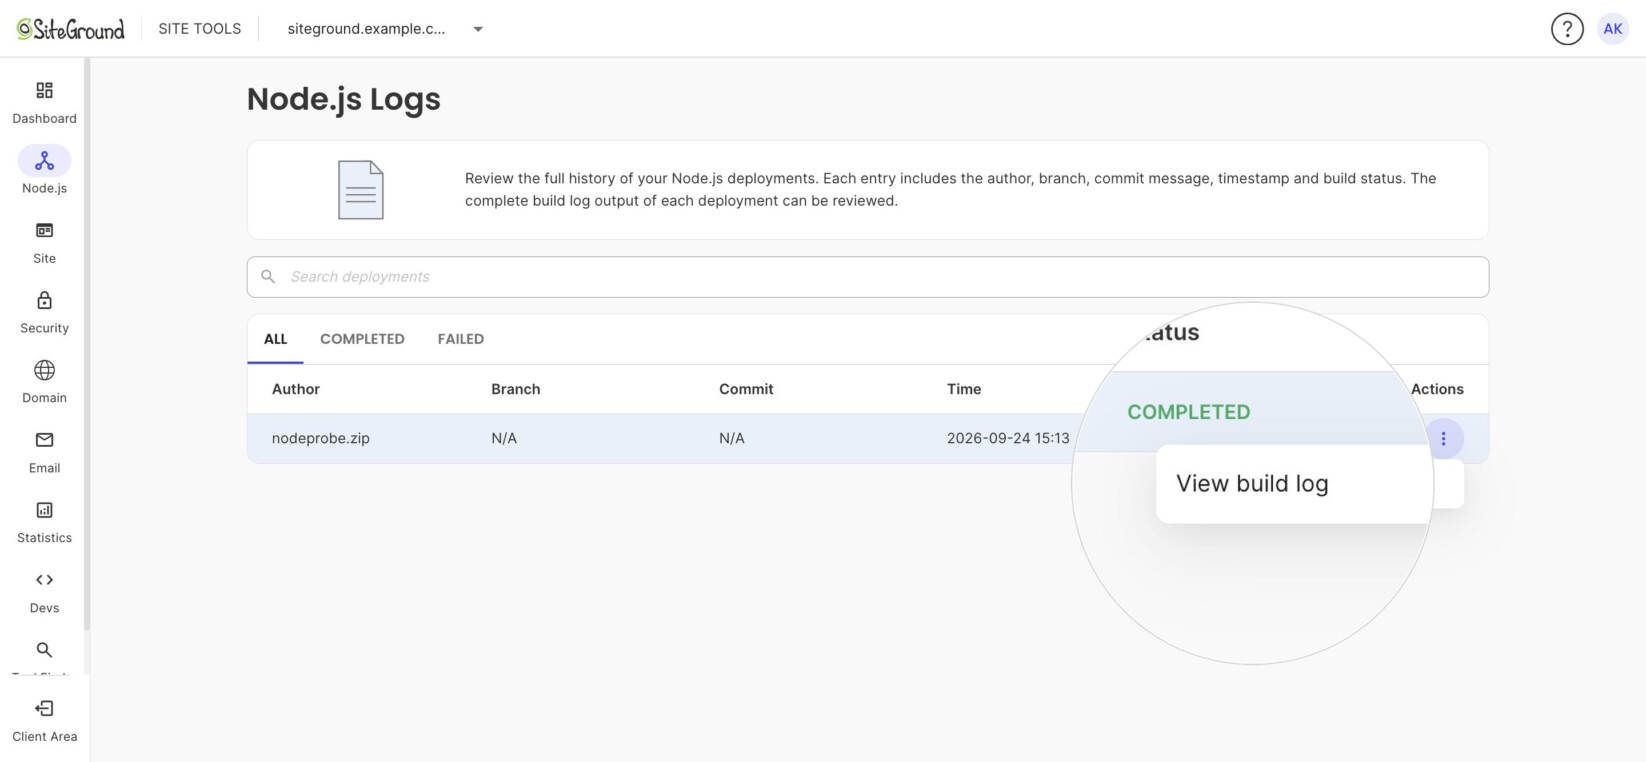
The Logs page keeps records of the entire deployment history for your Node.js application. Each entry lists the author, branch type, time, status, and commit of the repository. To view the full build log of a deployment, click its Actions (kebab) menu and select View build log.
The same menu has a Delete build option for older and failed builds you no longer need. Deleting a build removes its files and frees up inodes on your hosting account. The currently active (live) build can’t be deleted, so its menu offers only View build log. For step-by-step instructions, read how to delete unneeded Node.js builds.