How to create a Node.js project
You can easily create Node.js projects in your web hosting account to deploy and host powerful and scalable web applications.
Go to your Client Area > Websites > Node.js Projects and click New Project in the top-right corner.
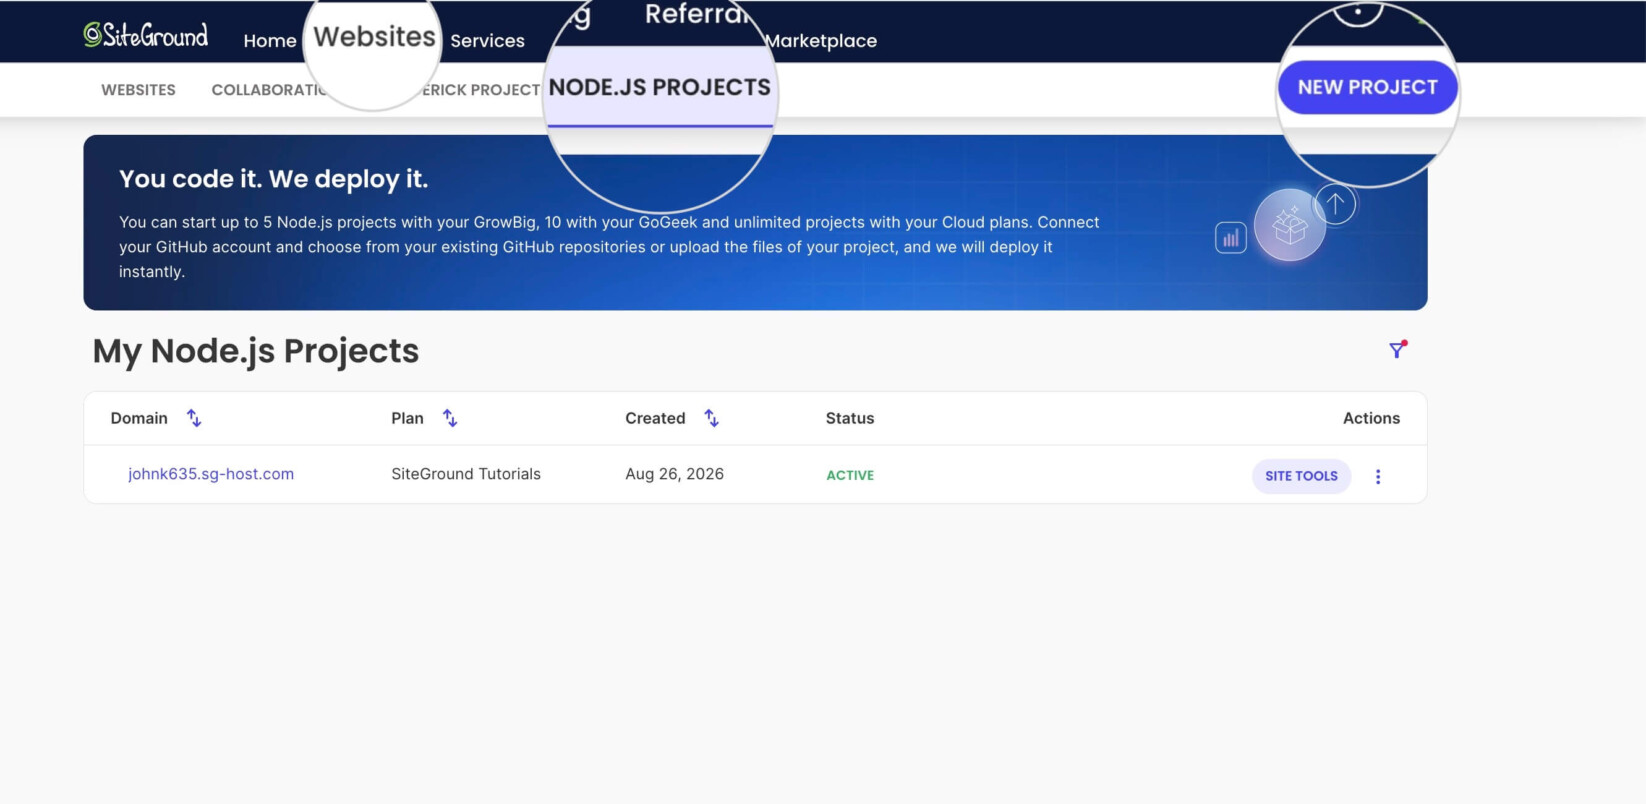
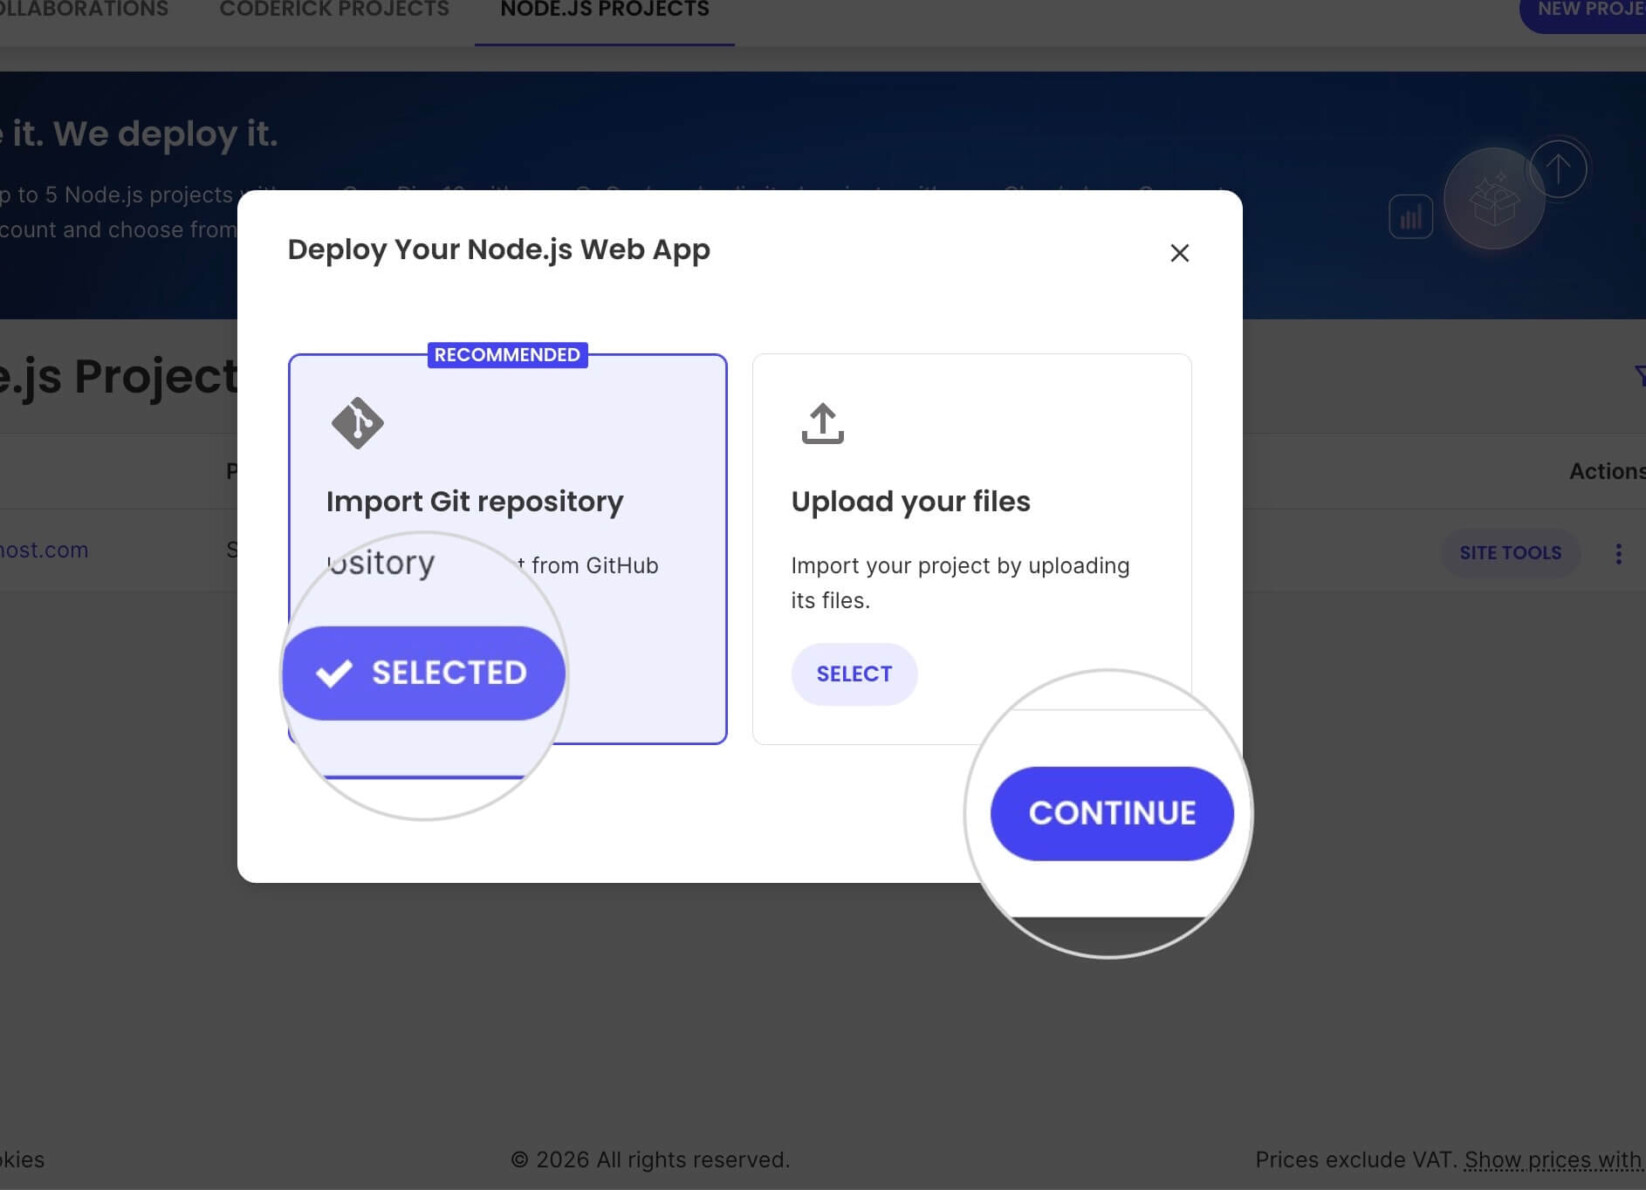
This will start the Node.js setup wizard, offering two deployment methods:
Import Git repository
Linking your Node.js Project to a GitHub repository is the recommended way to deploy your application, because it unlocks auto-deployment: every time you push new code to your linked branch, SiteGround automatically rebuilds and redeploys your app.
Here are the steps to import a GitHub repository:
- Select Import Git repository and press Continue.
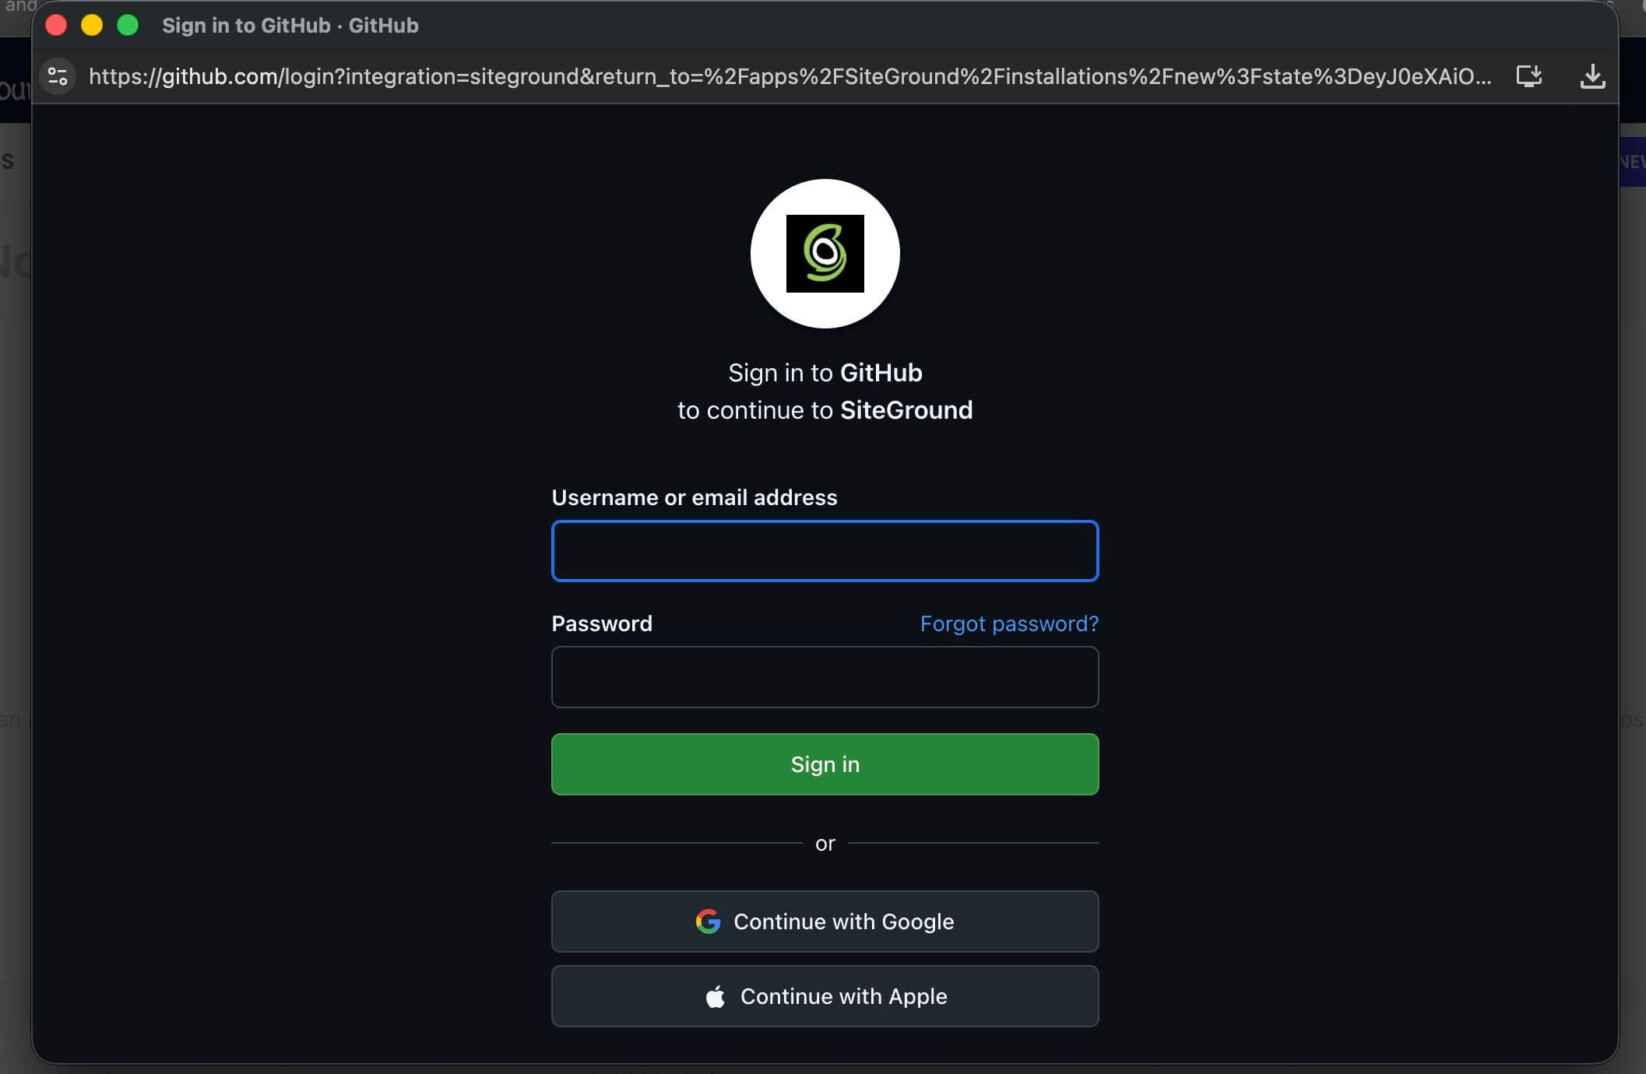
- If you haven’t connected your GitHub account yet, you will be prompted to authorize the SiteGround GitHub App and grant it access to your account or specific repositories. This happens on GitHub’s side and only needs to be done once — afterward, all your authorized repositories are available for any future project.
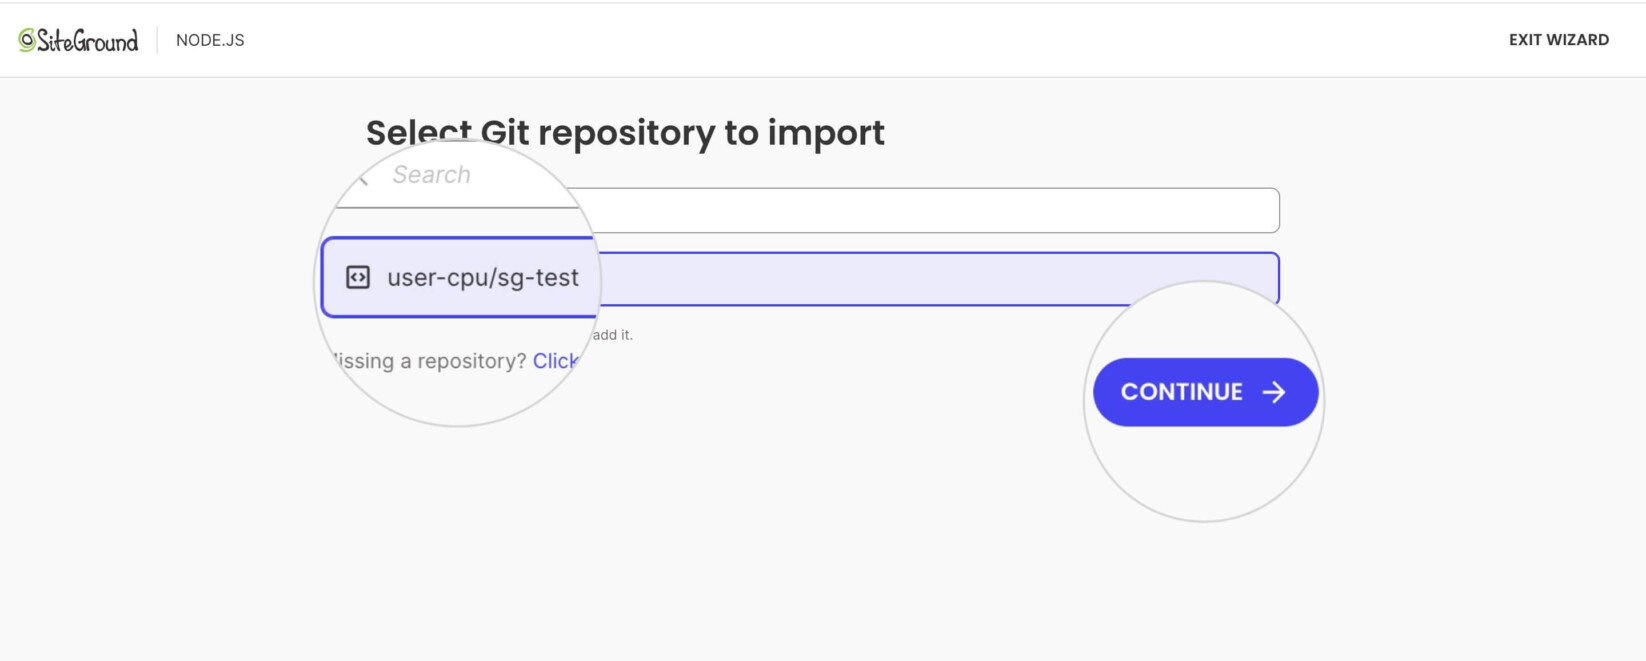
- Once connected to your GitHub account, the setup wizard will list the existing repositories you’ve granted access to. You can choose the one you wish to deploy. If the repository that you wish to import is not listed, use Click here next to “Missing a repository?”.
- Click Continue to start the deployment.
Upload your files
Instead of linking a GitHub repository, you can manually upload your Node.js application files from your computer. Note that should you choose this option, you’ll have to reupload the files every time you make changes to the code.
Here are the steps:
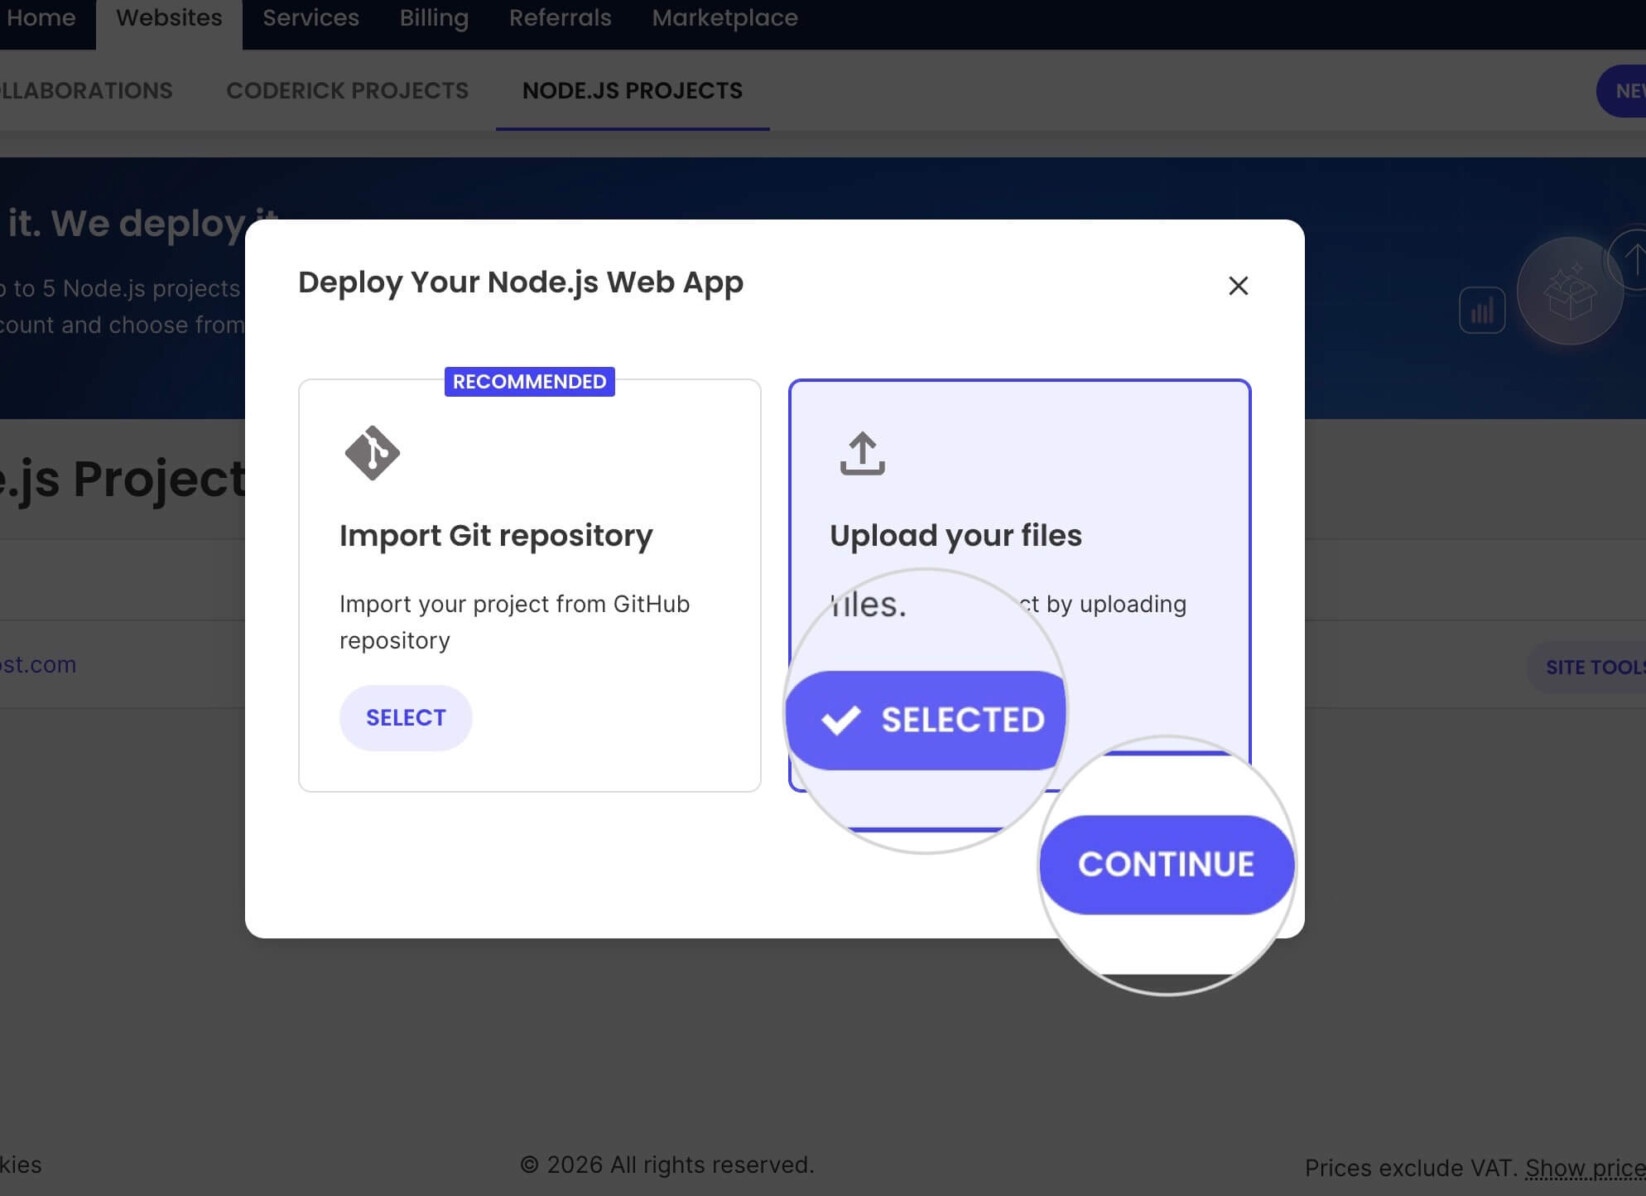
- Choose Upload your files in the new project’s setup wizard.
- Press Continue.
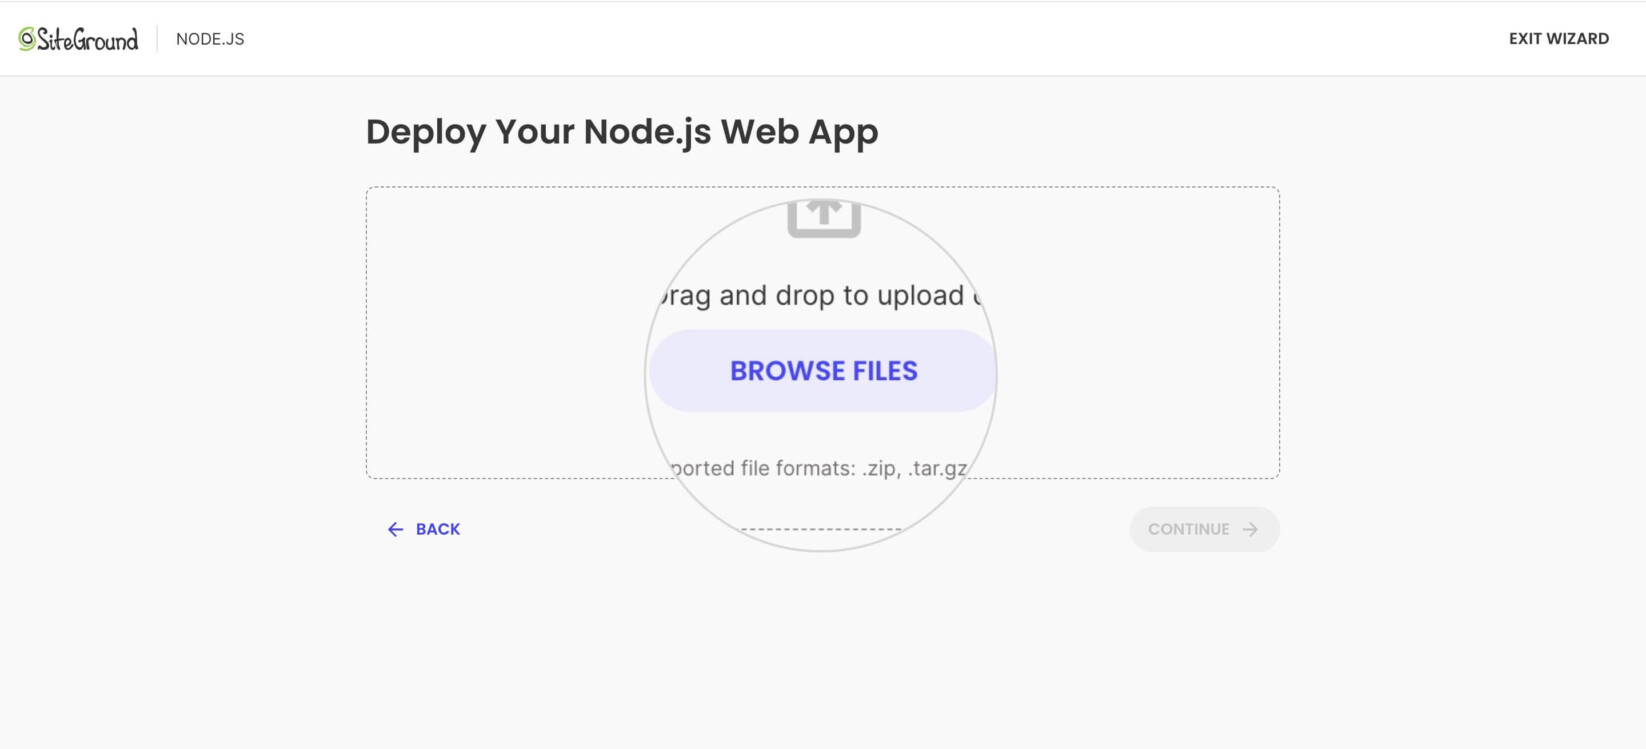
- Click Browse Files to open a file selector window to choose the archive containing your application files.
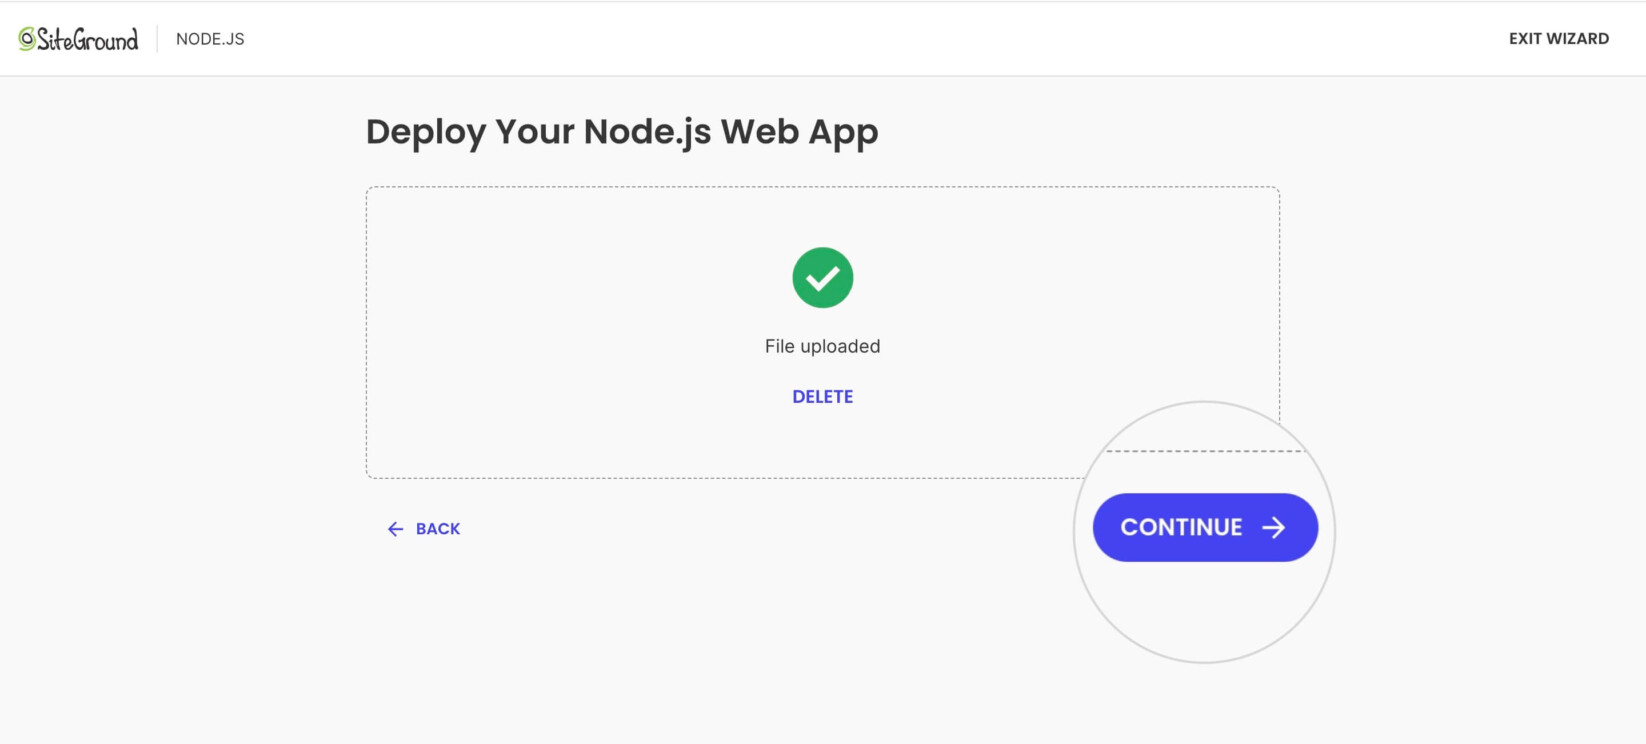
- Once the file is uploaded, click Continue to start the build process.
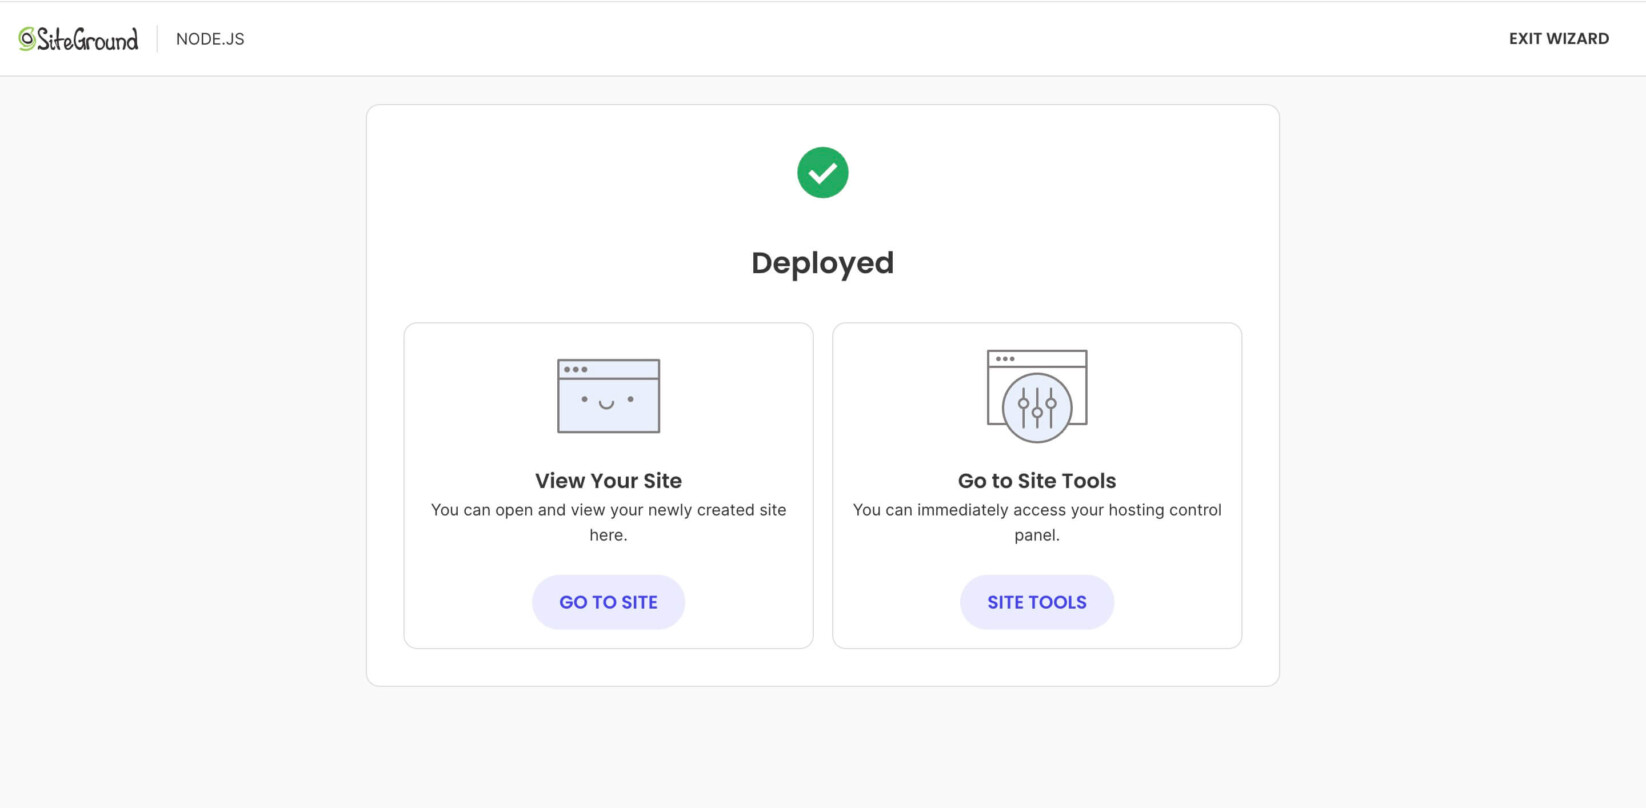
Final steps of the setup wizard
Once the deployment is started, you will see an “in progress” screen with build logs that will eventually be recorded in the application’s Site Tools logs. Regardless of the method chosen, the final page confirms the successful installation. You can use the two quick action buttons to either view the site or change the app settings inside its Site Tools. For more information, read this guide on how to manage your Node.js project in Site Tools.